Accounts
About Accounts and Organizations
flexiManage is a multi-tenant management system that allows you to manage multiple independent and isolated networks within a single account. Such a network can represent a company (e.g. a customer of a service providers or systems integrator) or a subsidiary of an enterprise. As an example, a Service Provider with 100 enterprise customers will create 100 Organizations in his Account, each representing an enterprise customer.
A few things to note:
At any given time, a user can view and manage Devices and other network elements of a specific organization
Users may be invited to the system and have access to one or more Organization/s
You may create Groups of Organizations and give users access to specific Groups
For more information refer to the section Account and User Management.
Manage Accounts
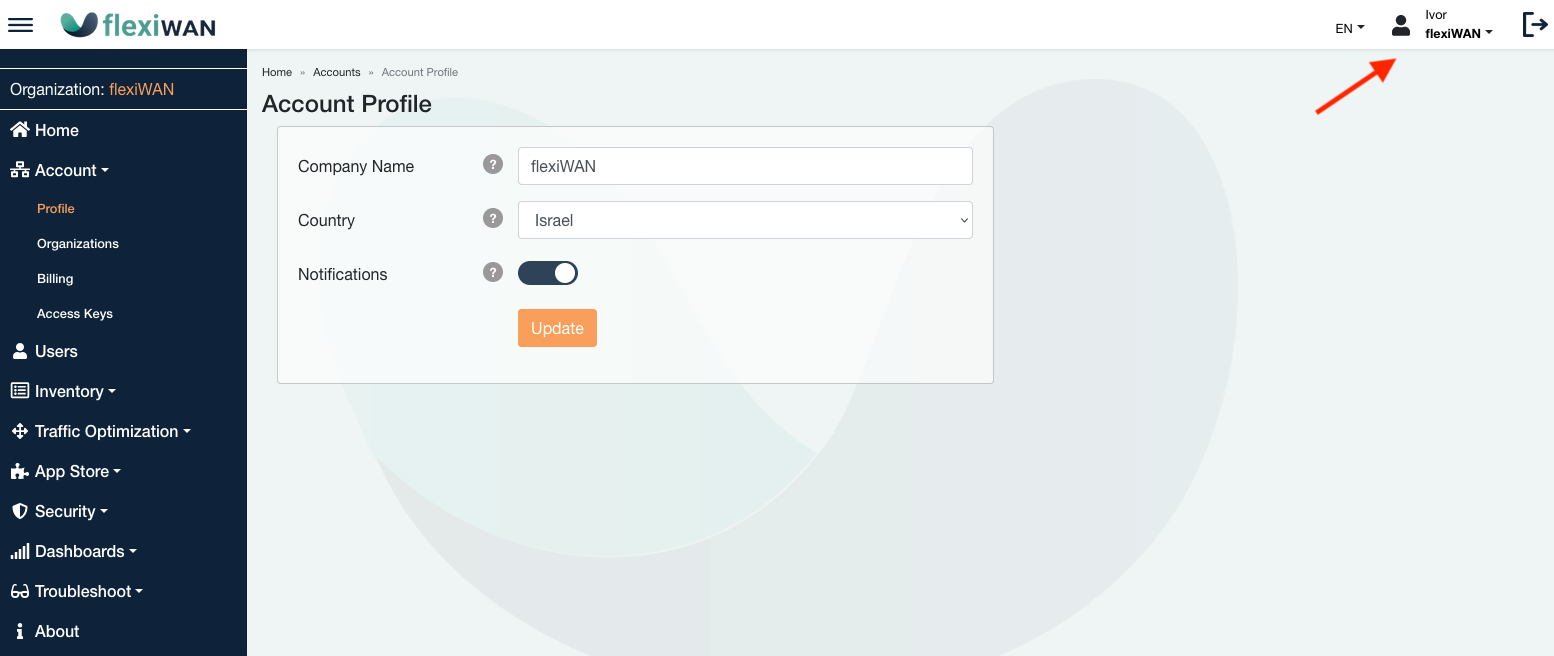
The Account menu presents the account profile and allows you to update it, manage the organizations in the account, enter the account billing information and define access keys. Most of the account information (such as billing and access keys) are available only to the account owners. Account managers or viewers can access information in the organizations level.
A user, if invited to other accounts, can have access to multiple accounts. The user name and selected account can be seen in the top right menu. When a user has access to multiple account, he can select a specific account to view and manage in the top right drop down menu.
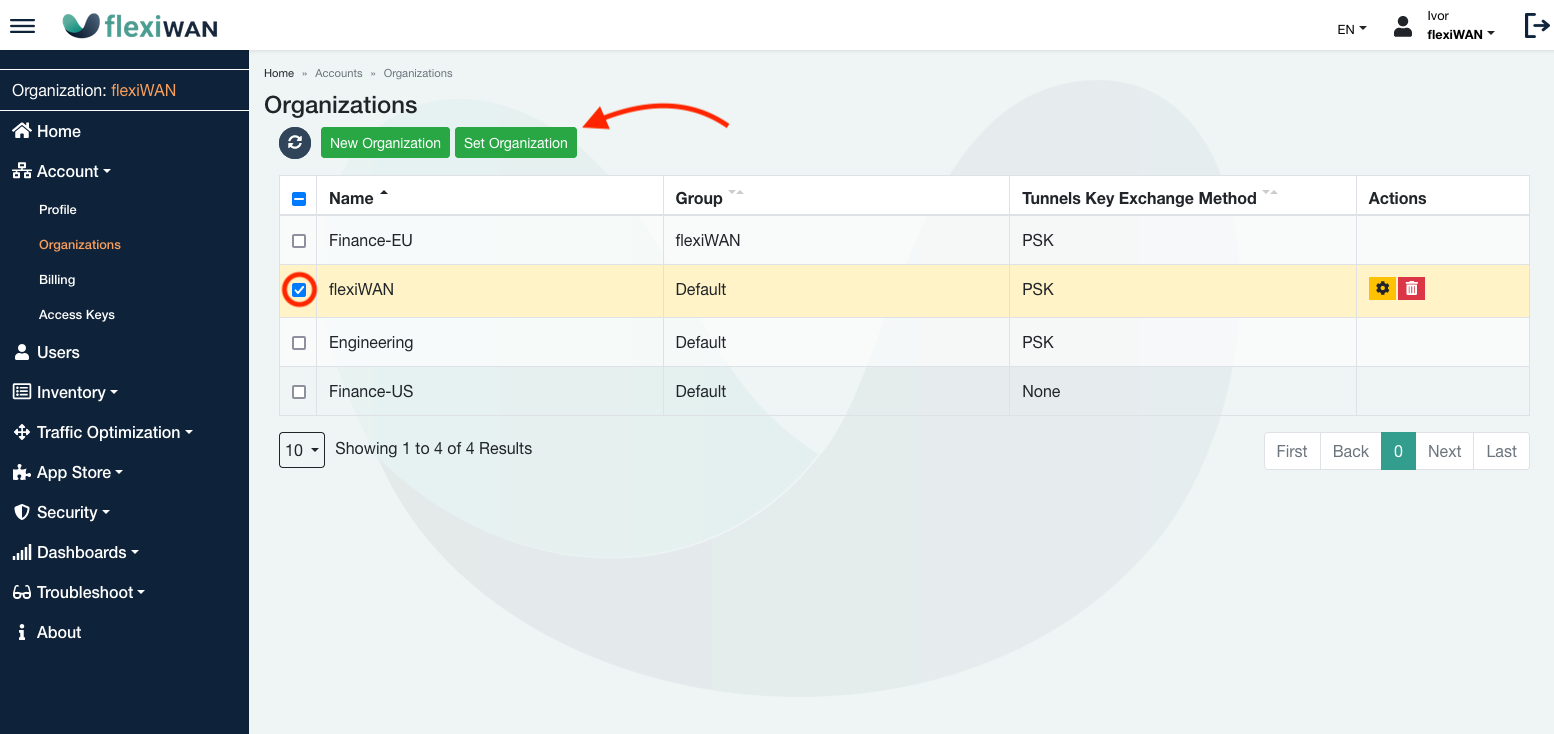
Account Organizations
The account organizations menu provides access to all of the organizations in the account. The selected organization is marked in Yellow.
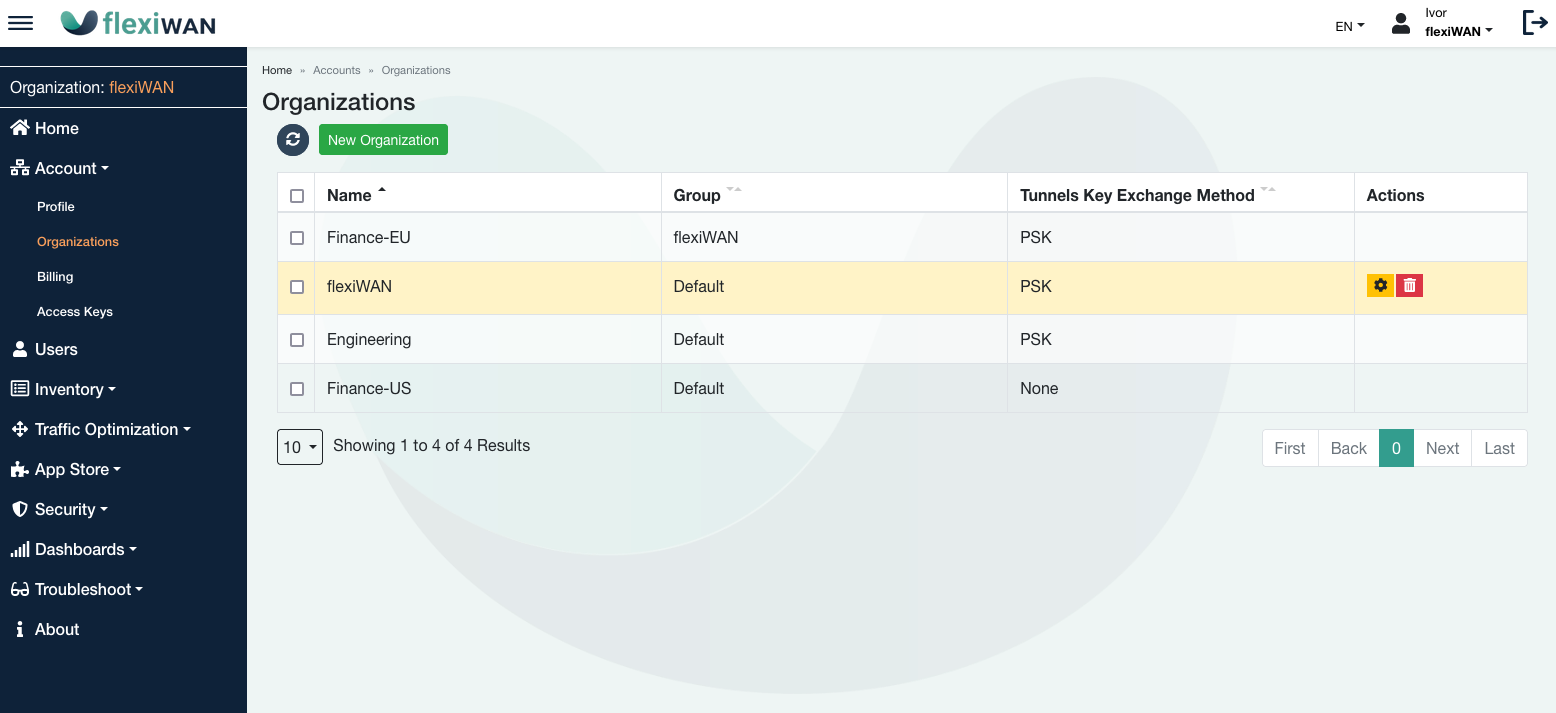
This menu allows to toggle between organizations. To do so, click on the organization you want to select and then click on “Set Organization”.
Securing accounts
Enabling 2FA
As an additional layer of security, Two-Factor authentication can be set up for account owners. flexiWAN’s 2FA relies on OTP (One-Time-Token) and use of external authenticator. Prior to following the guide, make sure to download an authenticator application on your mobile phone or computer. Some of popular mobile authenticator applications are Authy, Duo Mobile and Google Authenticator.
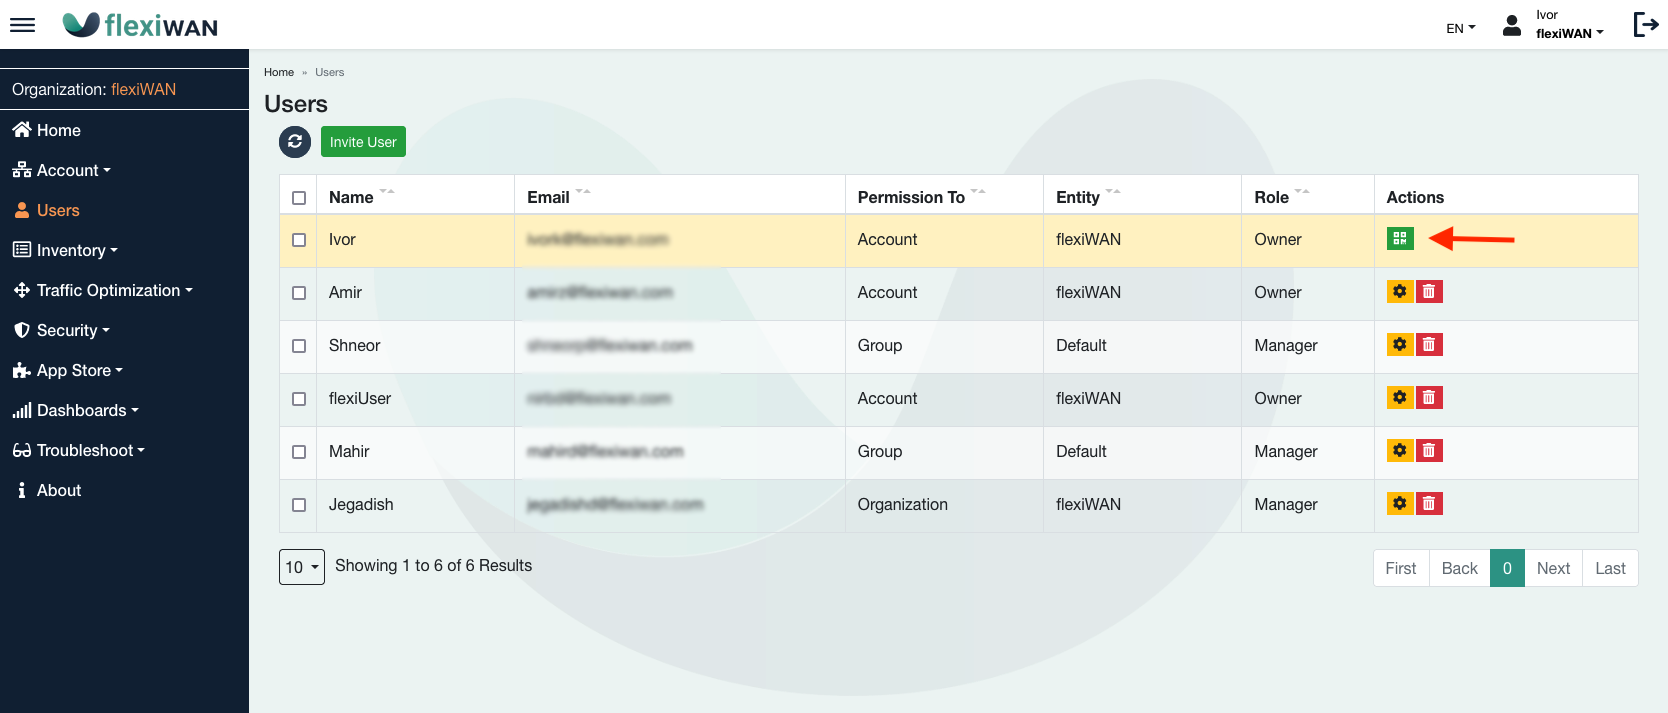
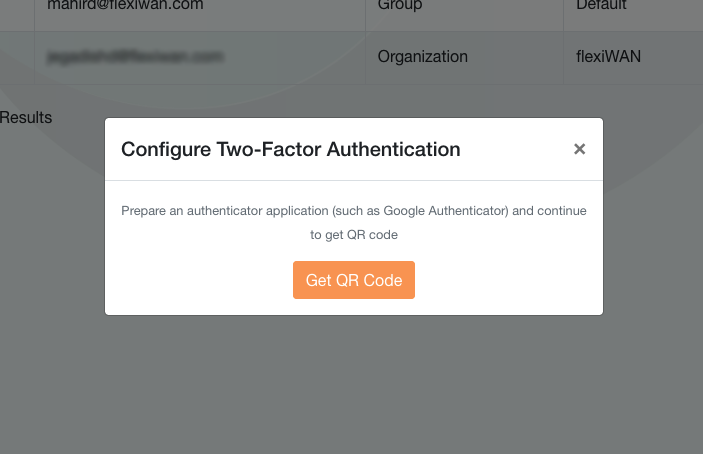
To enable 2FA navigate to Users section and click on the Enable 2FA button.
2FA wizard will start, open the authenticator application on your phone and click on Get QR Code to continue.
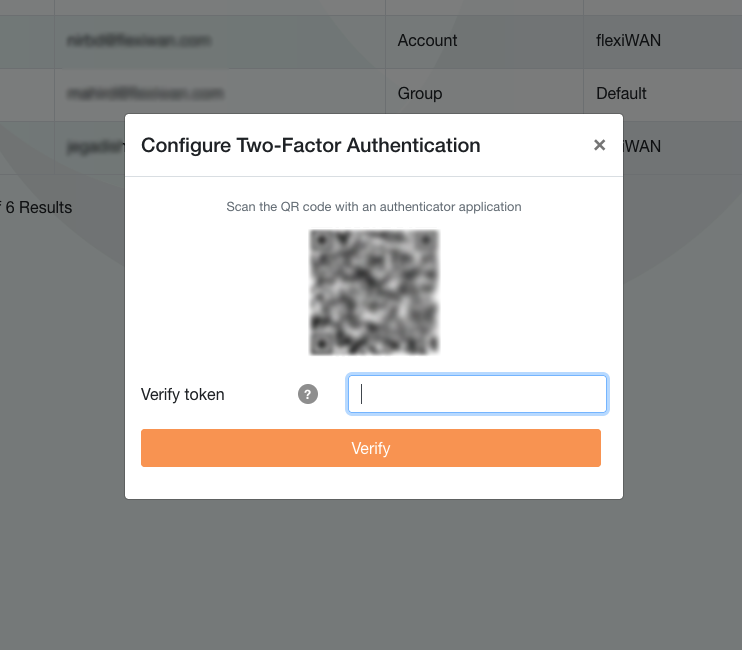
Scan the displayed QR code with the authenticator app, after which the app itself should create a new flexiWAN 2FA account on the mobile phone. Generate token with the app and enter it in the Verify token section to confirm token is correct.
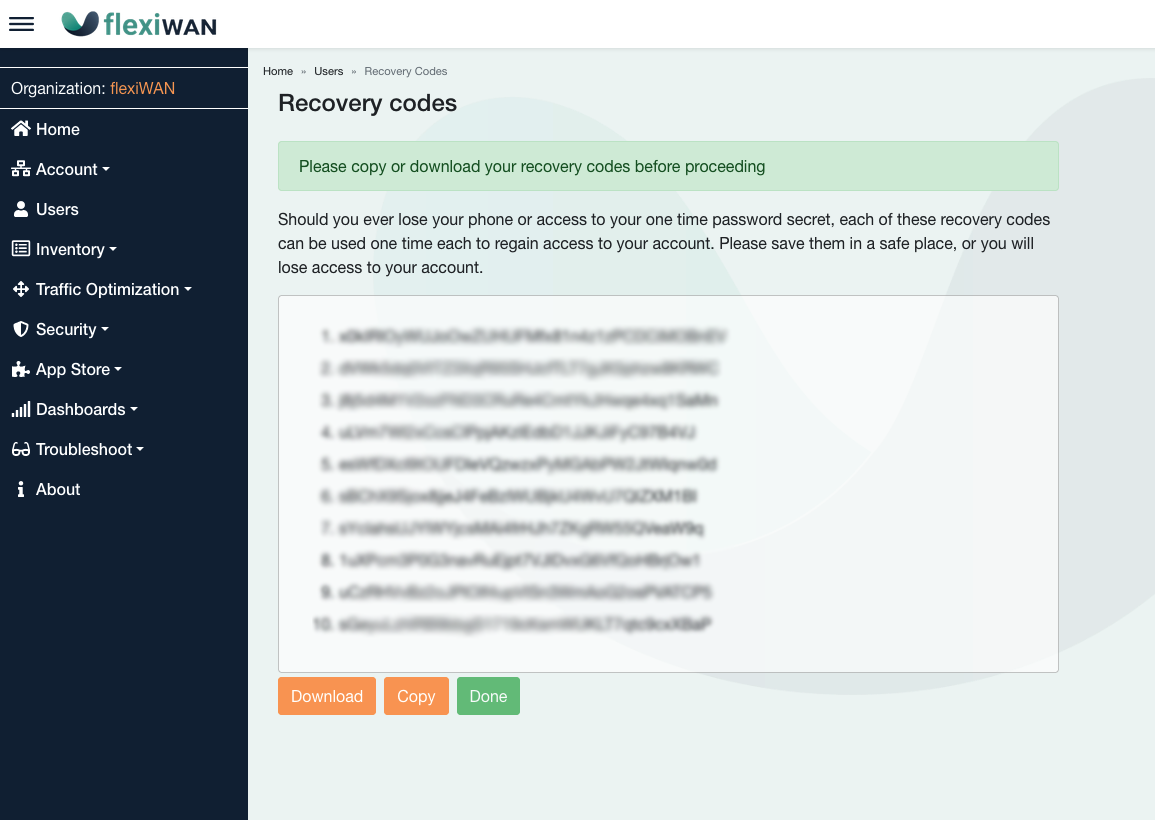
Before completing the 2FA process, make sure to download the recovery codes in case access to the authenticator app is lost. Click on done to complete the 2FA configuration.
Disabling 2FA
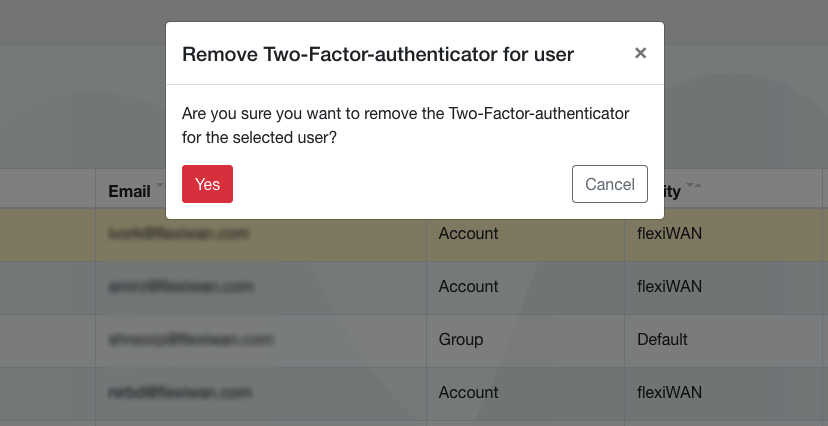
In order to disable 2FA for your account, navigate to Accounts section and click on the green icon under Actions section.

Confirm with **Yes* to complete the 2FA removal.
Account Access keys
Refer to the North Bound API page