Oracle Cloud Infrastructure
flexiWAN supports deployment on Oracle Cloud Infrastructure (OCI). Follow this guide to sucessfully and quickly deploy flexiWAN on OCI.
Prerequisites
Before following this guide make sure to have the following ready:
Configuring a VM instance
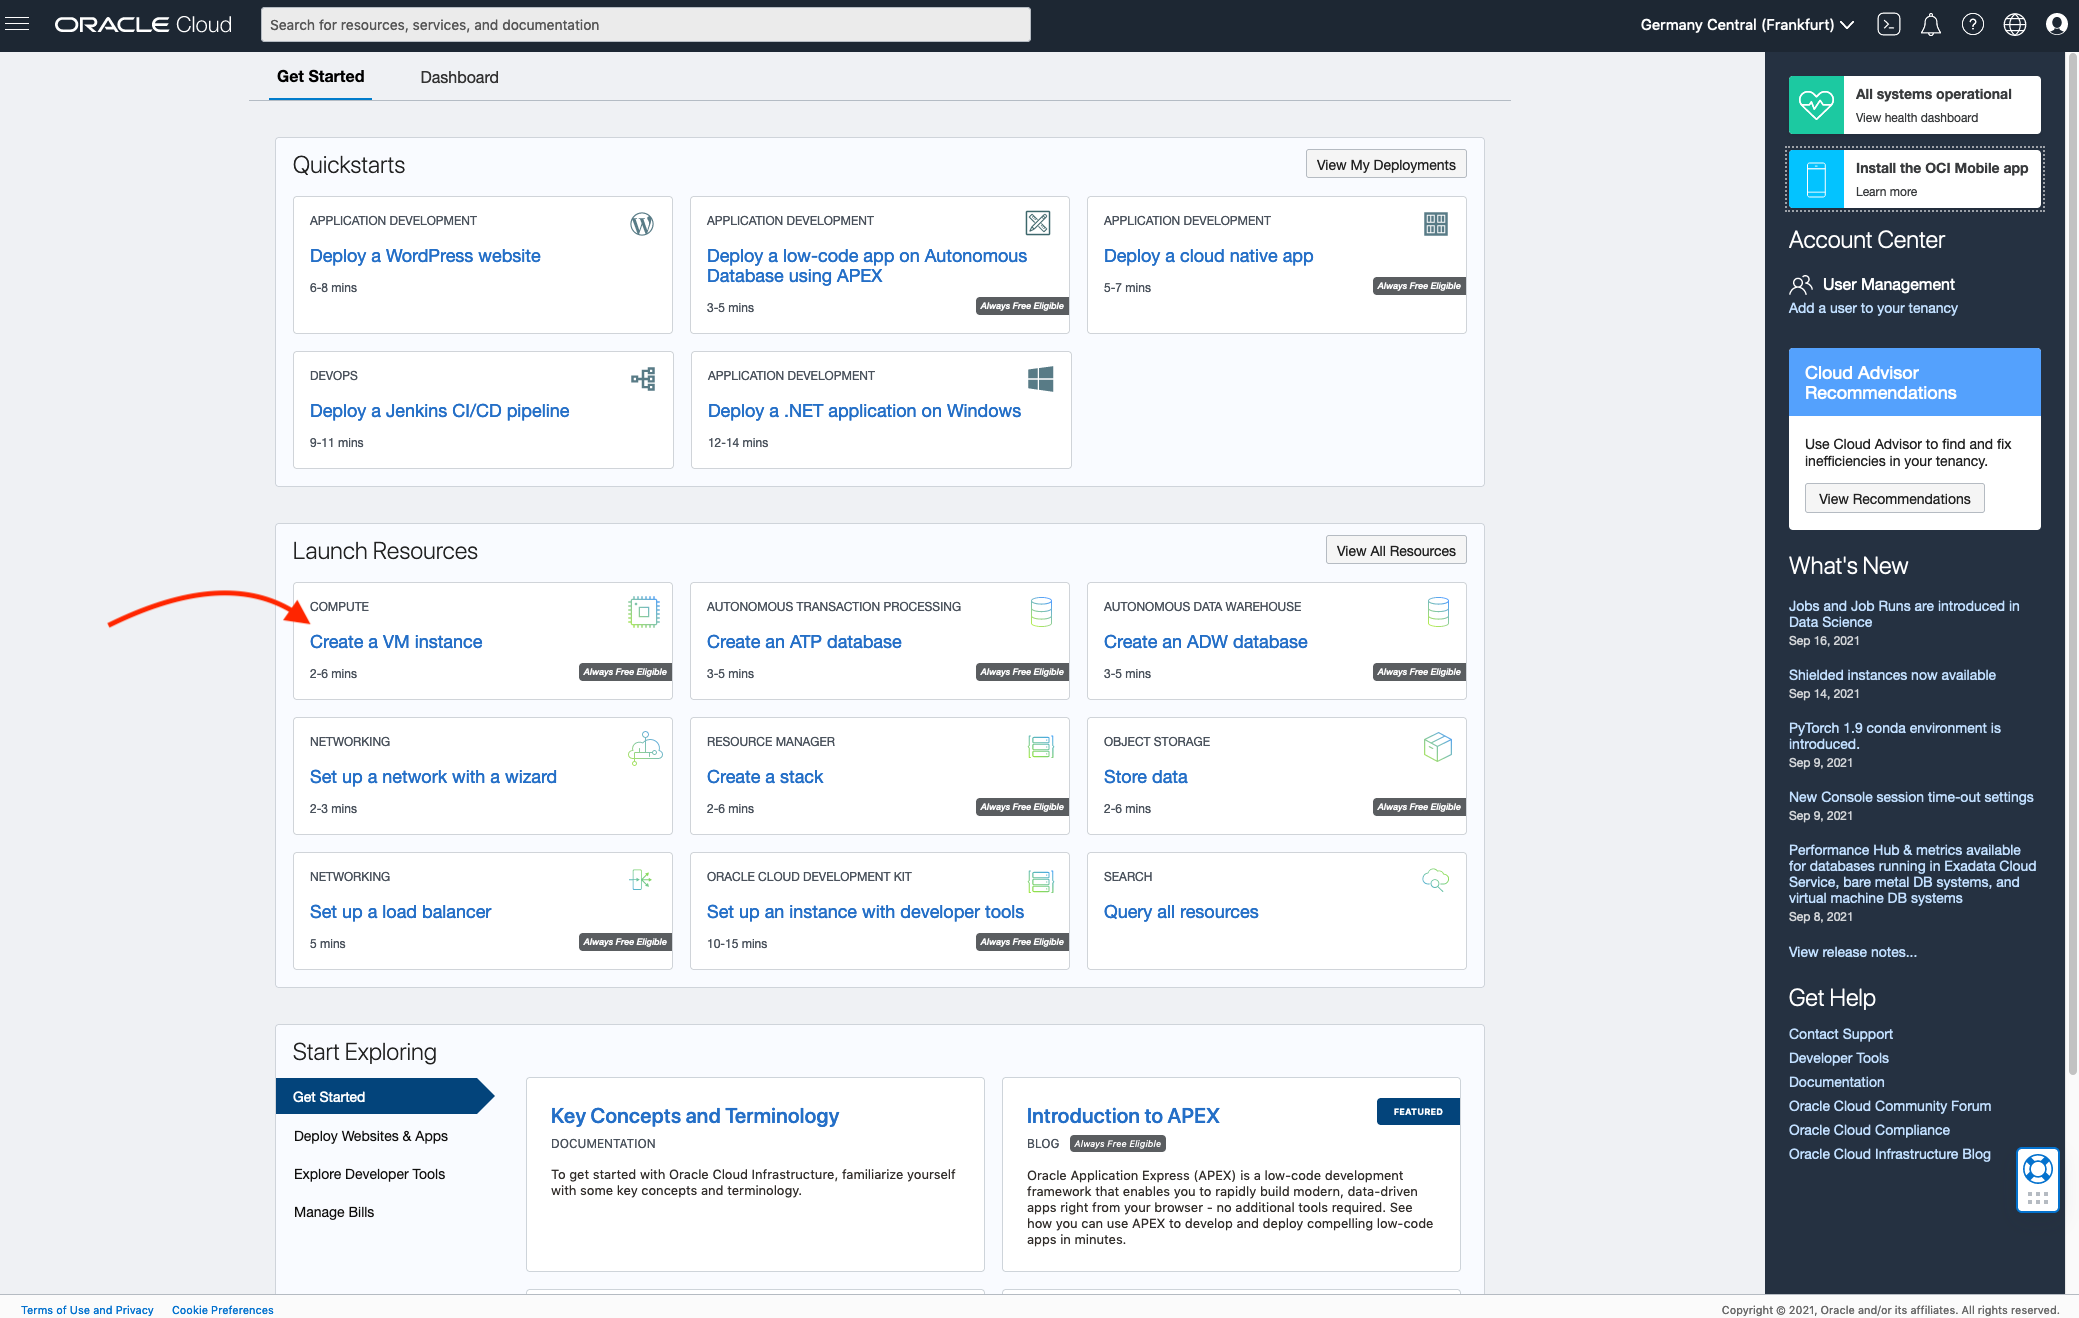
Login Oracle Cloud console and navigate to dashboard. Click on Create a VM instance
Create compute instance wizard will start. Name your instance and pick the placement domain (optional).

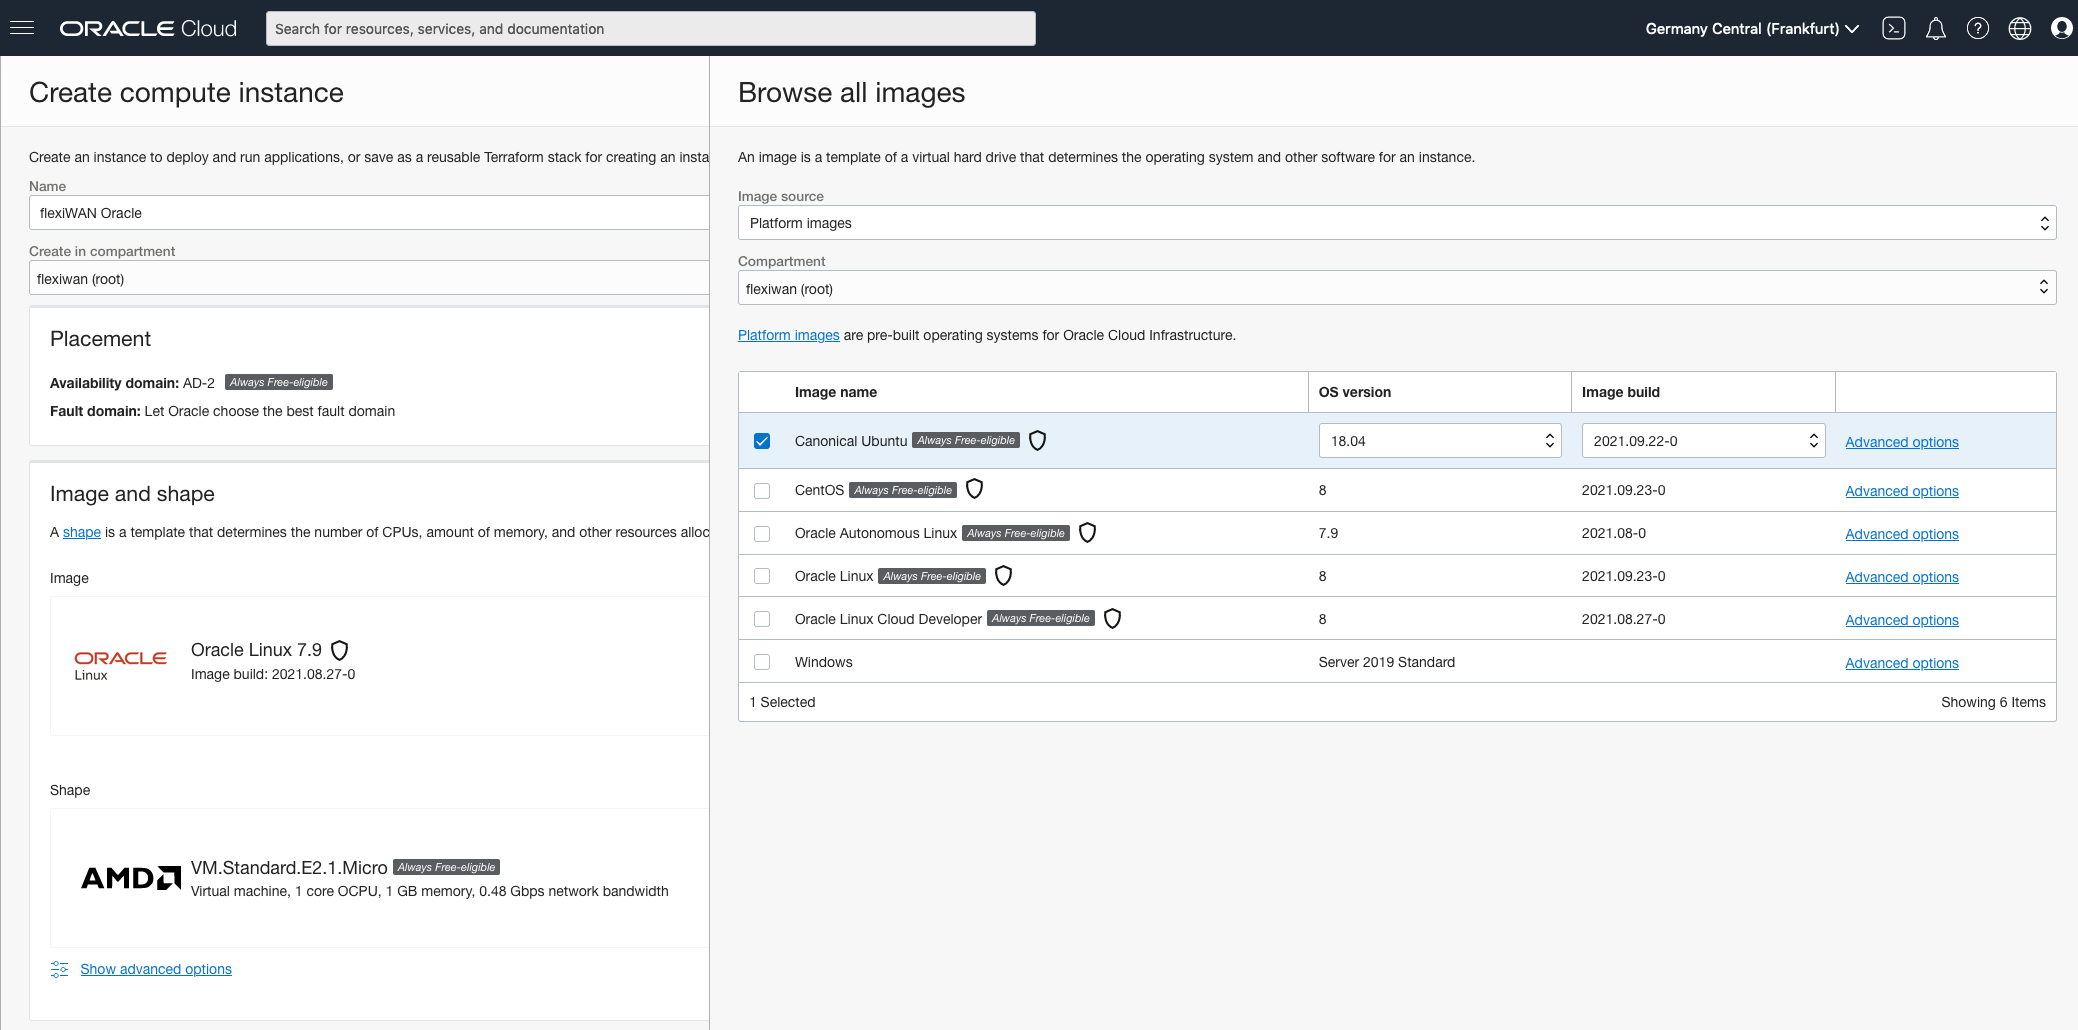
In this step, set the Image and Shape to match flexiWAN requirements. First click on Change image.

From image browser pick Canonical Ubuntu and 18.04 for OS version. Confirm with Select image.
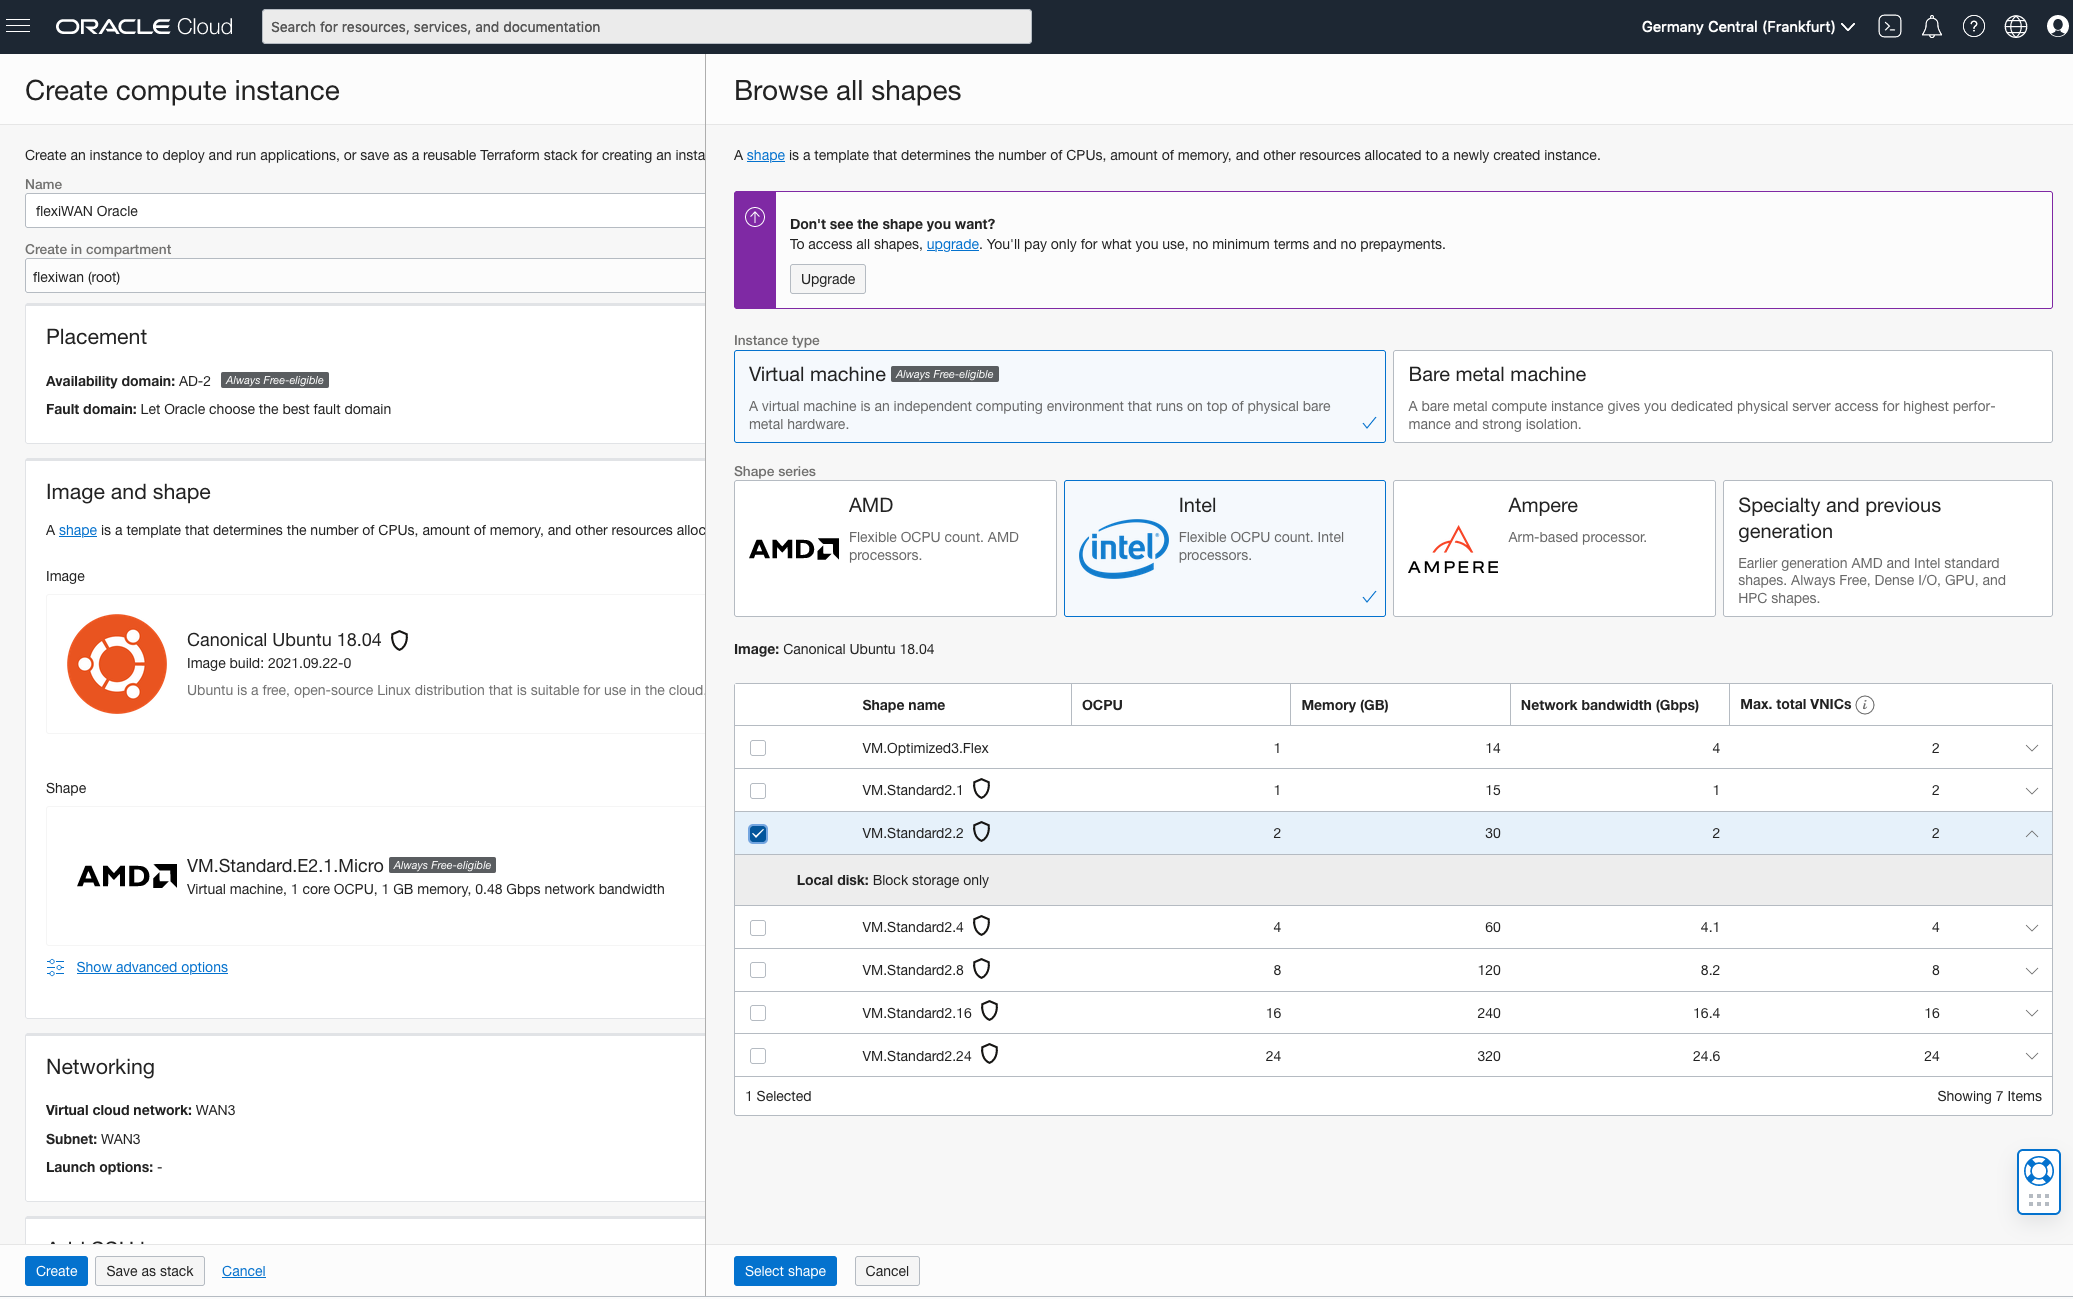
Next step, select Intel from shapes browser and pick Shape name VM.Standard2.2. For testing purpuses VM.Standard2.1 may work but for production 2 CPU cores are required.
Make sure to use Intel instead of AMD type. Using AMD will not work with flexiWAN due limitation on OCI.
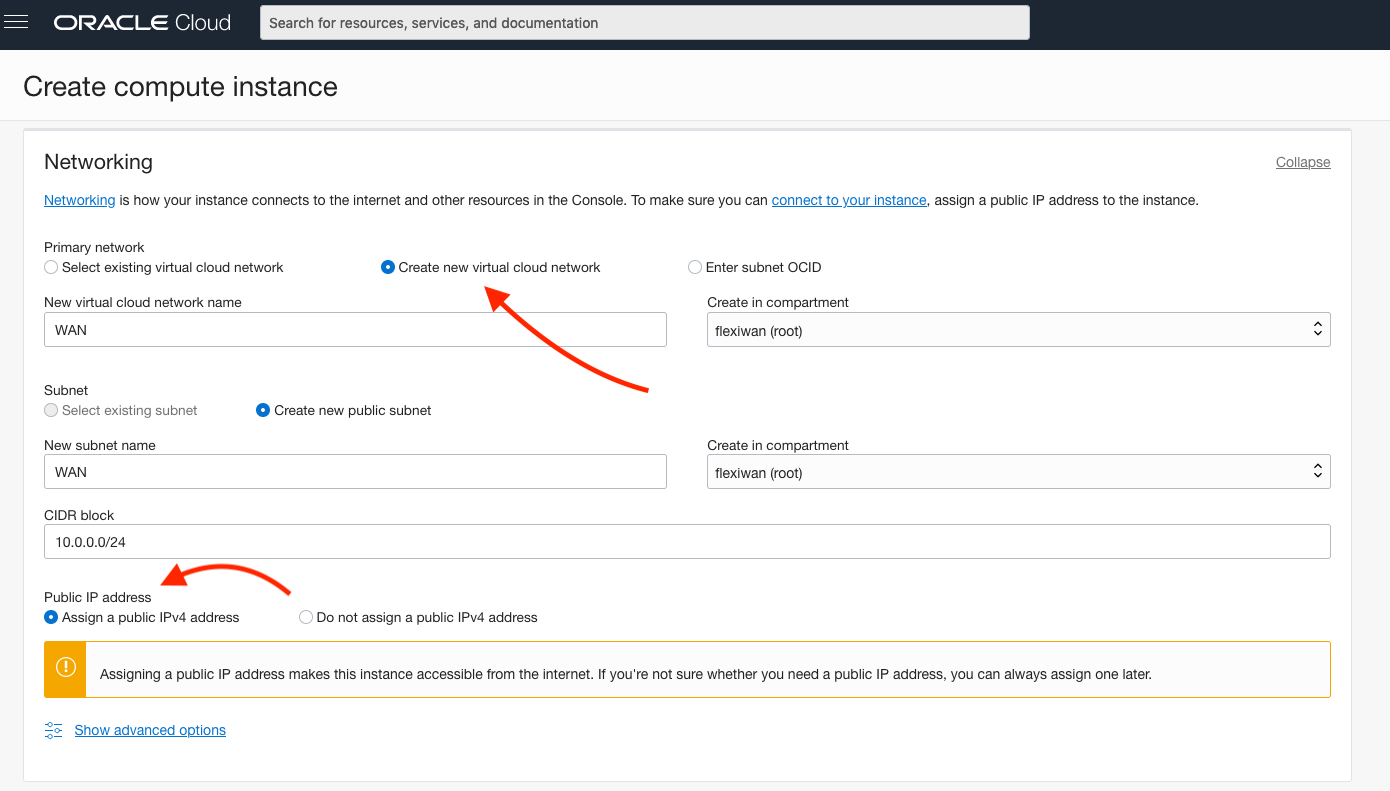
In the networking section make sure Create new virtual cloud network is selected and name it WAN for both cloud network and subnet. Keep the default CIDR block or add your own. Also confirm Public IP address is set to assign.
For final step, add SSH keys in order to access this instances remotely. OCI offers generating a new key pair or uploading your own public keys. Do not select No SSH keys as SSH is required in order to install flexiWAN. Finally click on Create to start instance creation.

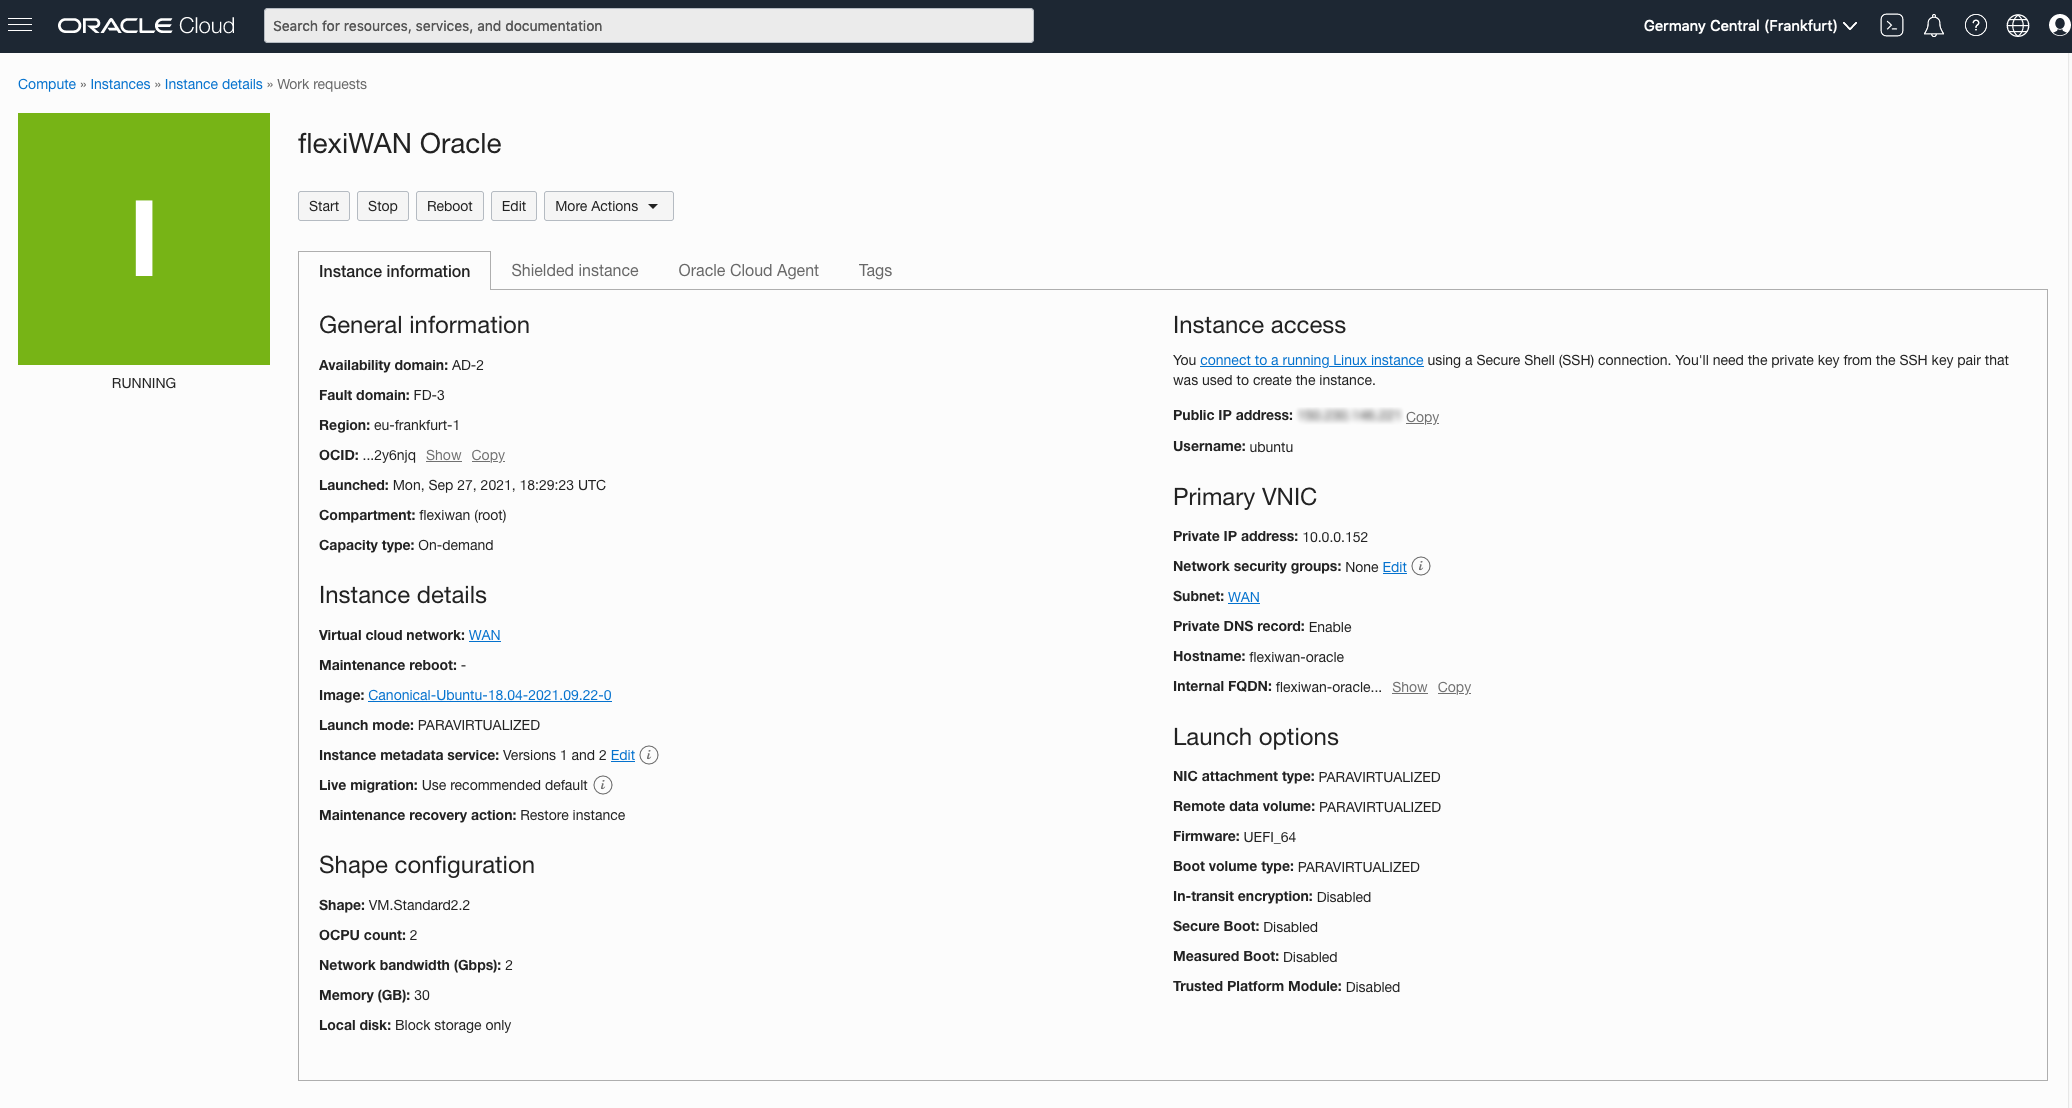
After instance is created it will show as running and provide access information.
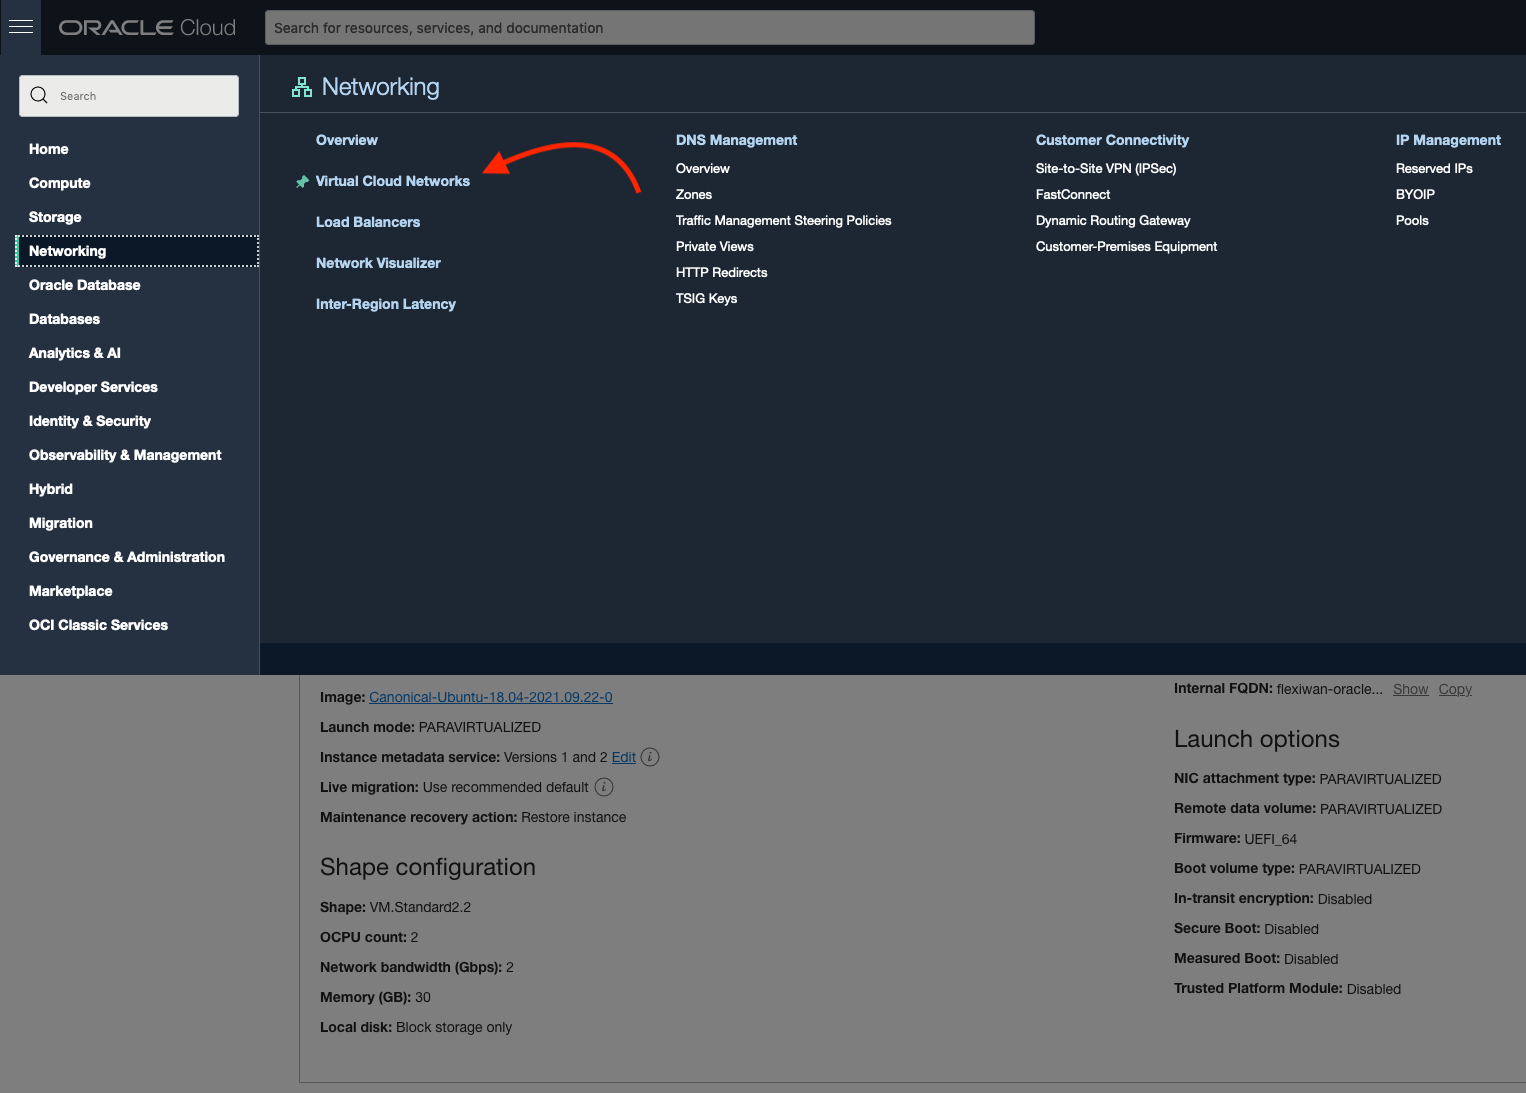
Before connecting to the newly created instance, navigate to Networking > Virtual Cloud Networks in order to create LAN network.
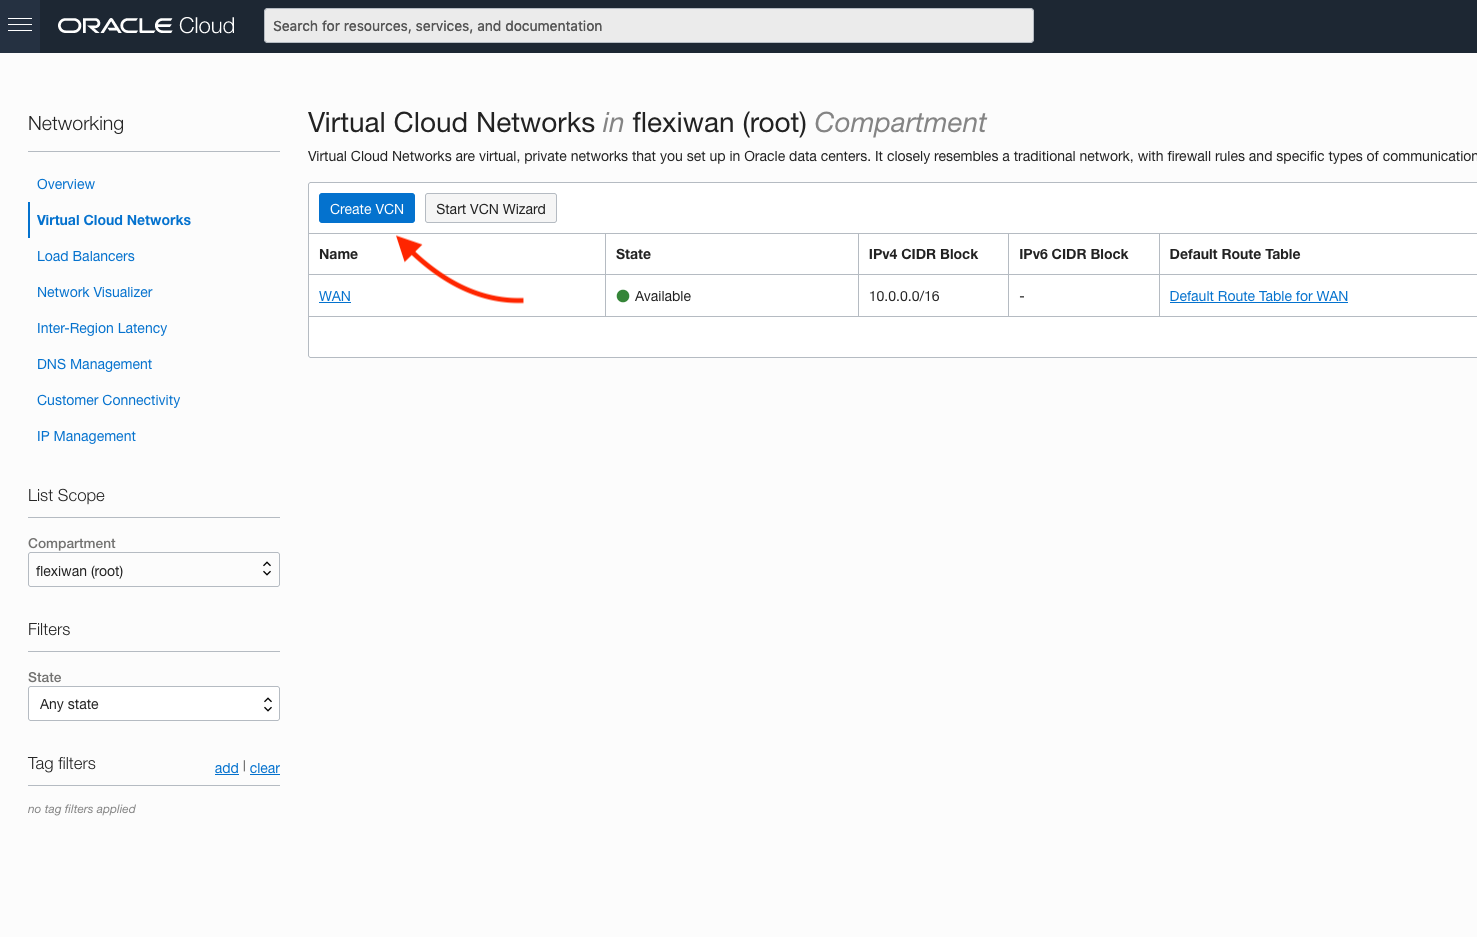
From this screen WAN VCN is already available, now click Create VCN to add LAN network.
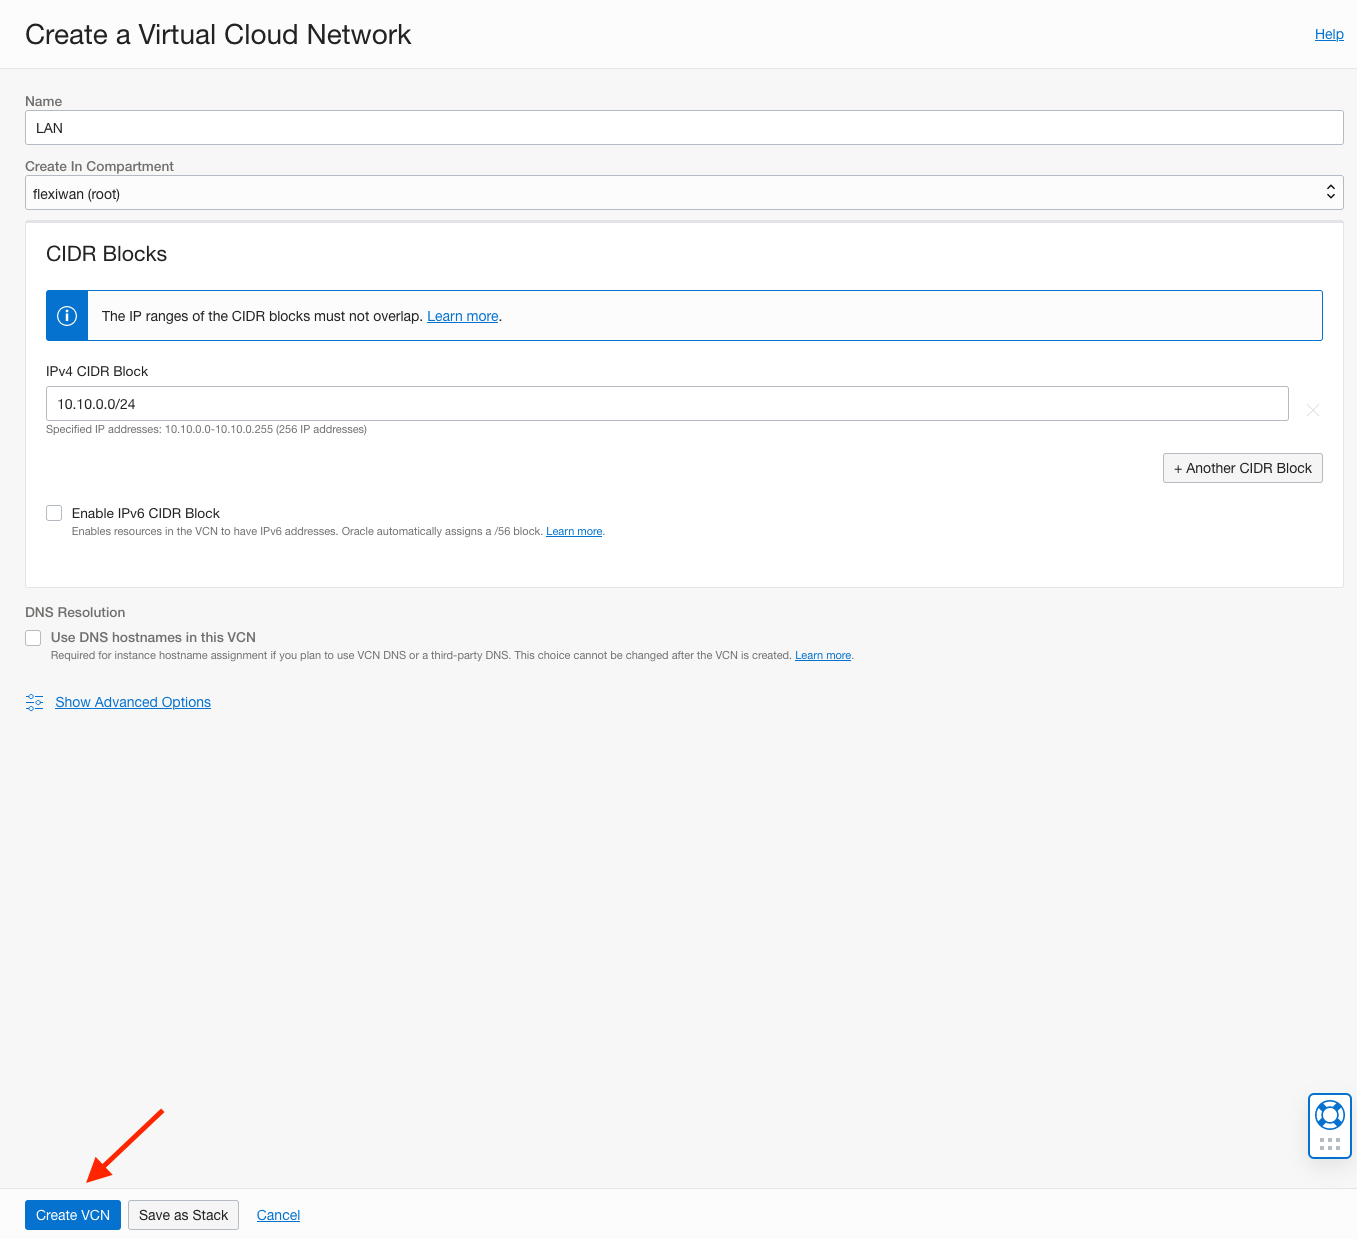
In the next screen name the network LAN and add a different IPv4 CIDR block from WAN, for example 10.10.0.0/24. Click Create VCN to continue.
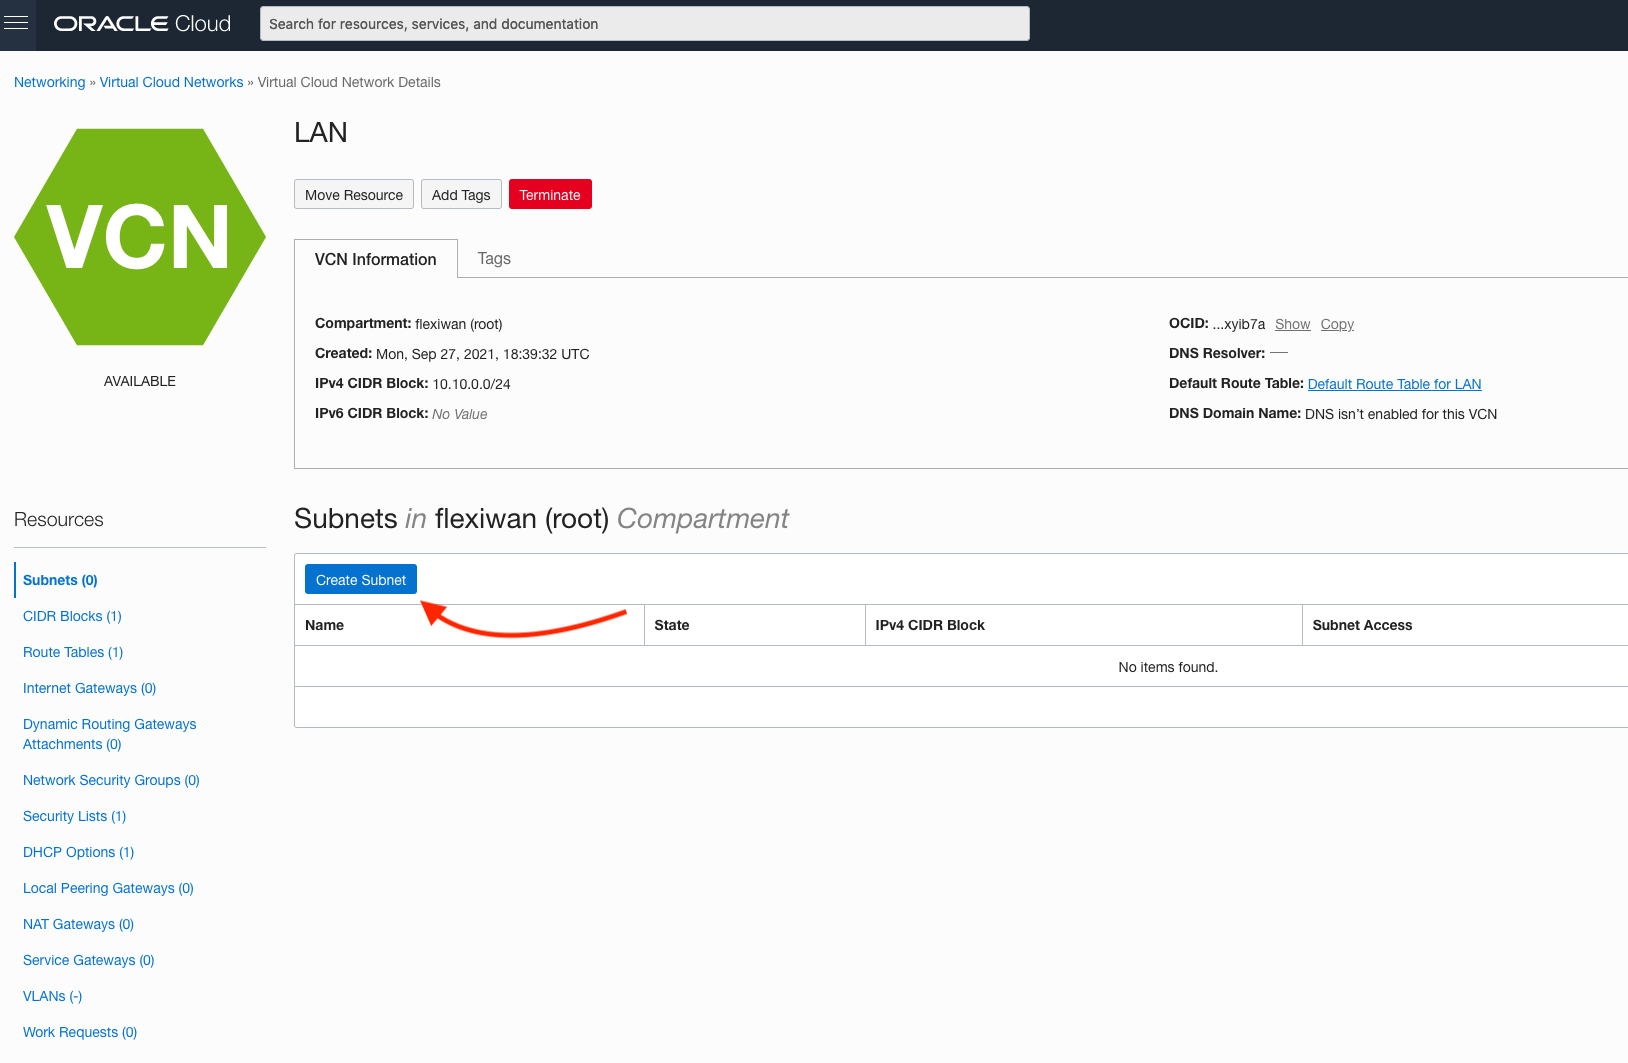
Upon creating LAN VCN, click to Create Subnet.
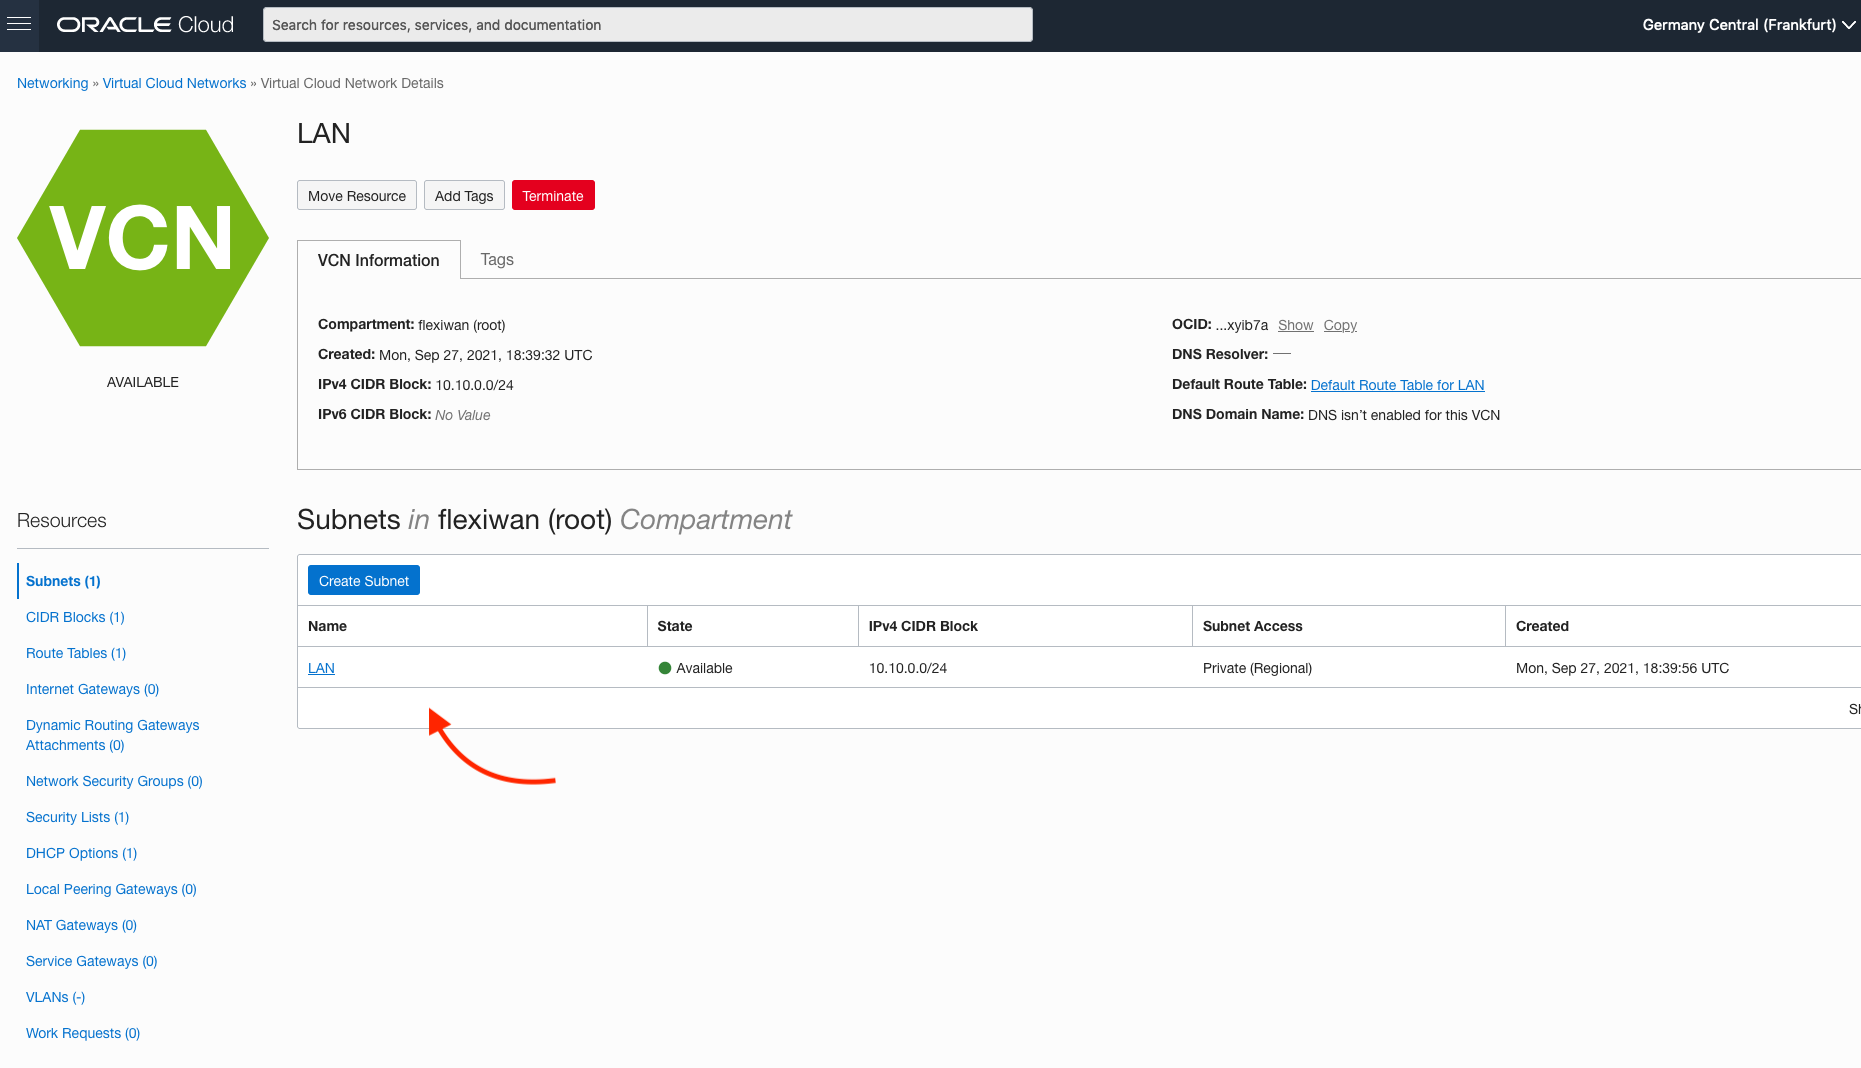
In the next screen add name to the Subnet, confirm CIDR block is 10.10.0.0/24 and mark it as Private Subnet. Click Create Subnet to continue.

That’s it, now the LAN network and subnet are ready to be attached to previously created VM instance.
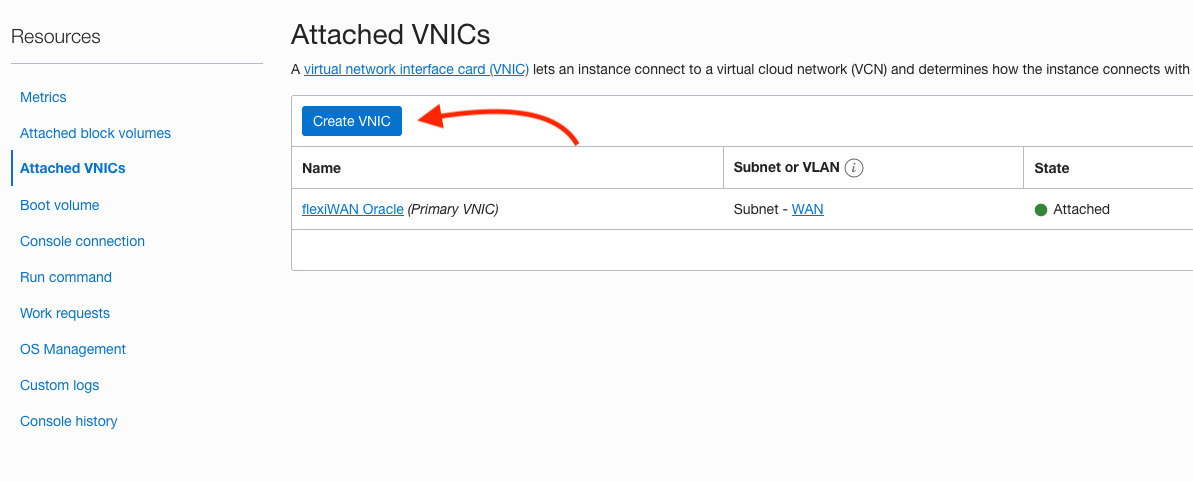
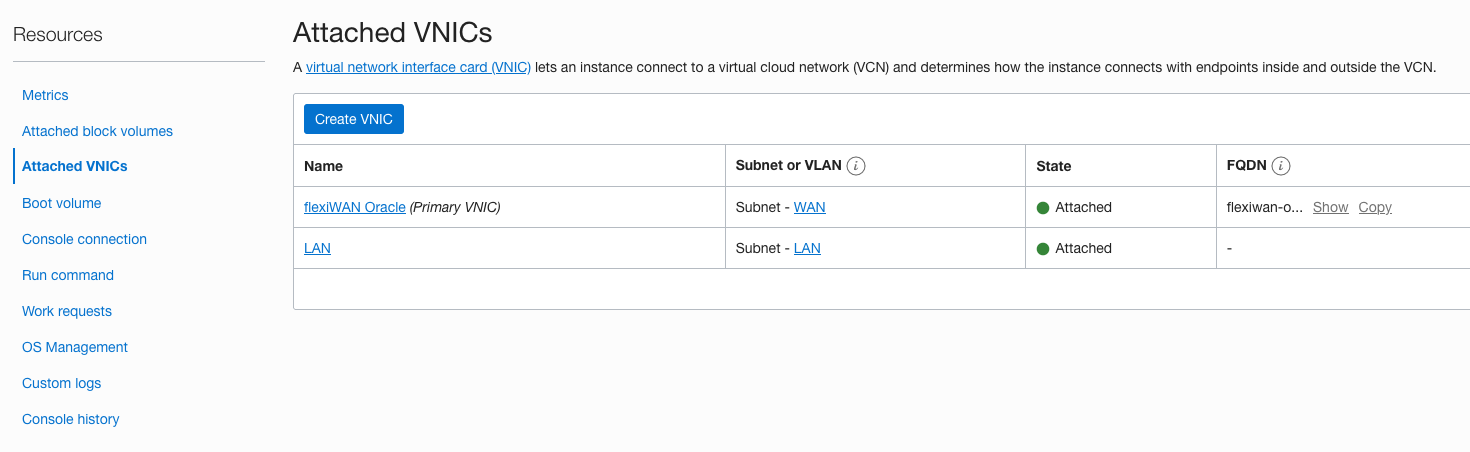
Navigate back to the instance previously created and scroll to the bottom of the page. Click on Attached VNICs and then on Create VNIC.
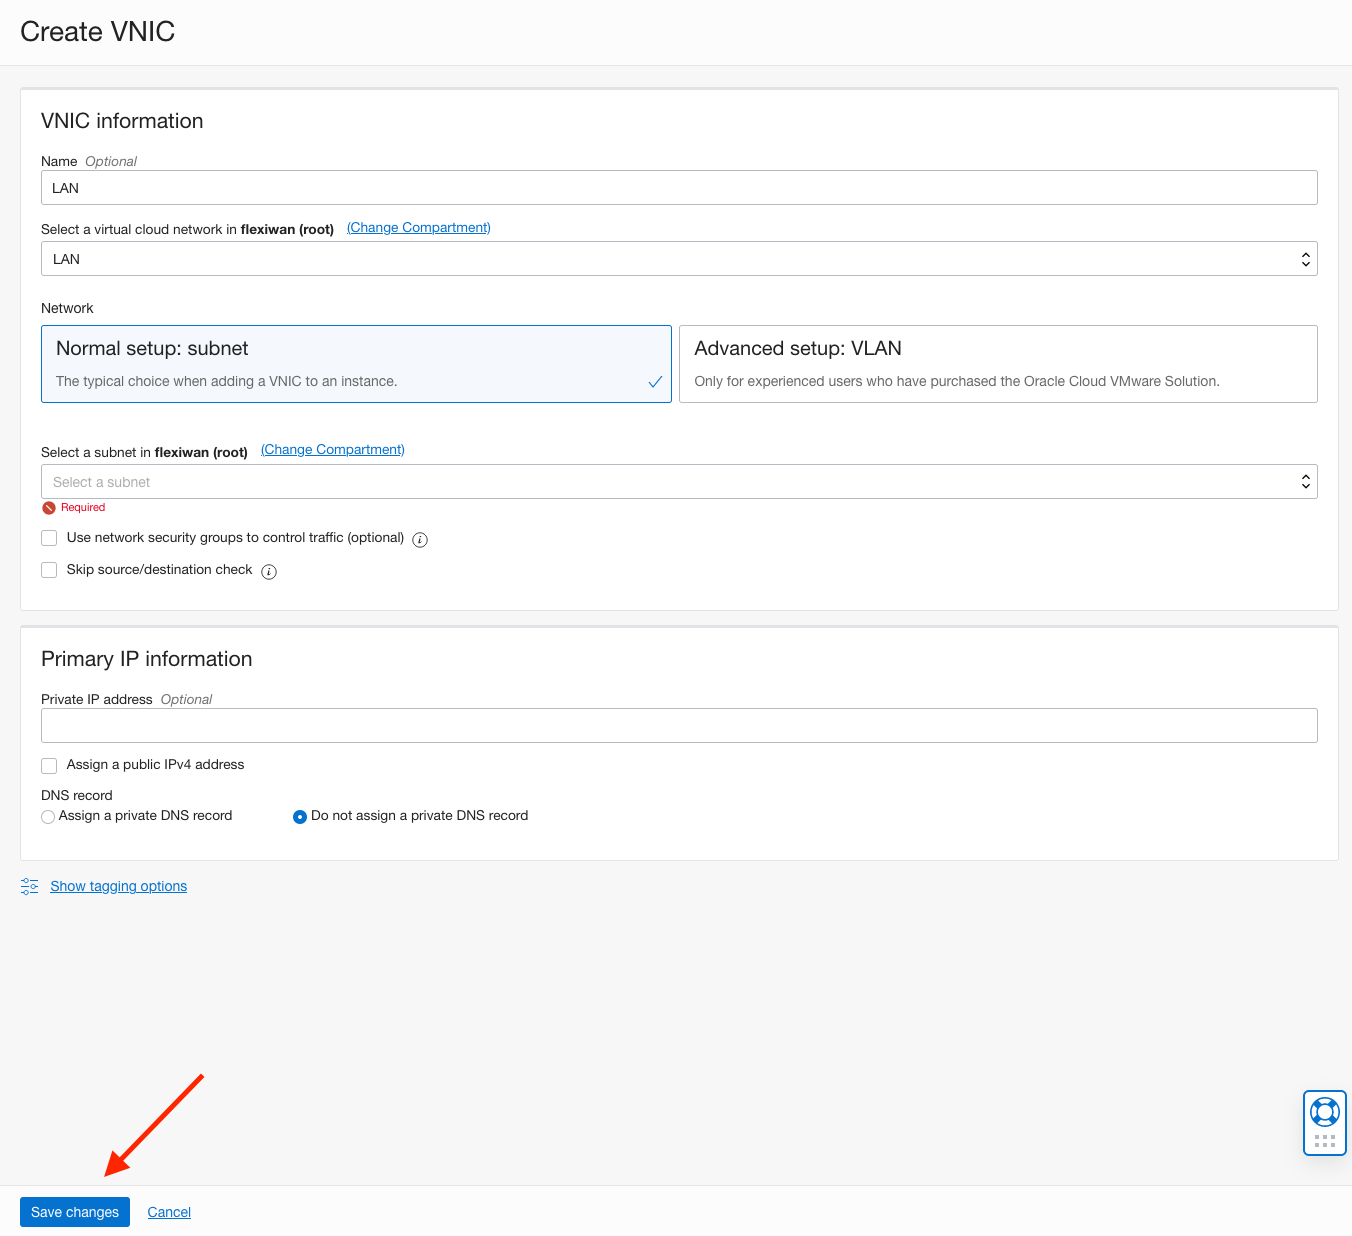
At the next screen name the VNIC LAN and select the previously created LAN VCN and LAN Subnet. Make sure to not assign public IPv4 network. Click Save changes.
Confirm Attached VNICs show WAN and LAN. That’s it, now your instance has both virtual networks and is time to install flexiWAN.
Installing flexiWAN
Now that the OCI VM instance is ready, it is time to install flexiWAN. SSH to the instance and authenticate using public key. Add the flexiWAN repository as described in our flexiWAN installation guide here.
sudo curl -sL https://deb.flexiwan.com/setup | bash -
After adding the repository, enter the second command to install flexiWAN.
sudo apt-get install -y flexiwan-router
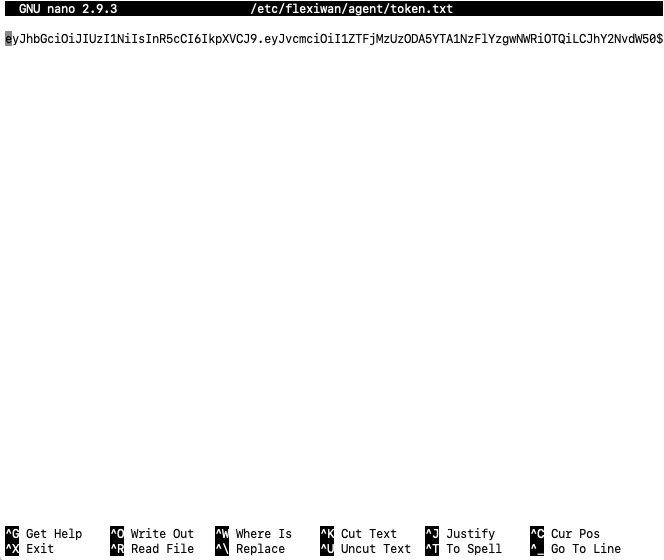
Wait for flexiWAN installation to complete and run the System Checker by following this here. Lastly, after completing all system checker steps, simply add the token from your flexiManage account. Use nano or vi to create the following file and insert your organization token:
/etc/flexiwan/agent/token.txt
That’s it, in a few moments your flexiWAN VPS will show up waiting for approval. From there, please follow the steps mentioned in our Device Management section.