Installing Ubuntu
The purpose of this guide is to cover Ubuntu installation process, focusing on sections required for a succesfull flexiWAN deployment. The steps below apply to baremetal or virtualization installation of Ubuntu.
Prerequisites
In order to sucessfully install Ubuntu and later flexiWAN on your device, prepare the following:
On bare-metal installation:
Flash the latest Ubuntu 20.04.6 LTS AMD64 installation image to USB.
Image can be flashed using Rufus (Windows) or Balena Etcher if you’re on MacOS or Linux.
Windows users should not use DD mode, instead use ISO mode (option in Rufus)
For those who install Ubuntu on devices with serial console, such as those from our Hardware partners, after flashing the ISO to USB, Ubuntu must be configured to use serial console output.
Insert USB to the device and turn on the device
Boot the device
Note
If the device has a serial console, booting the Ubuntu image will show the following error:
graphics initialization failed
Error setting up gfxboot
Simply enter the following line in the boot: section to boot Ubuntu installer in serial console mode. Make sure to type and not copy paste the command.
install console=ttyS0,115200n8 vga=none
In case the device uses a different baud rate, change the 115200 part to the correct baud rate
On virtual machine installation:
Attach the Ubuntu ISO in your virtual CD/DVD drive.
Boot the device
Installation Steps
Follow the next installation steps for both bare-metal and virtualized installation:
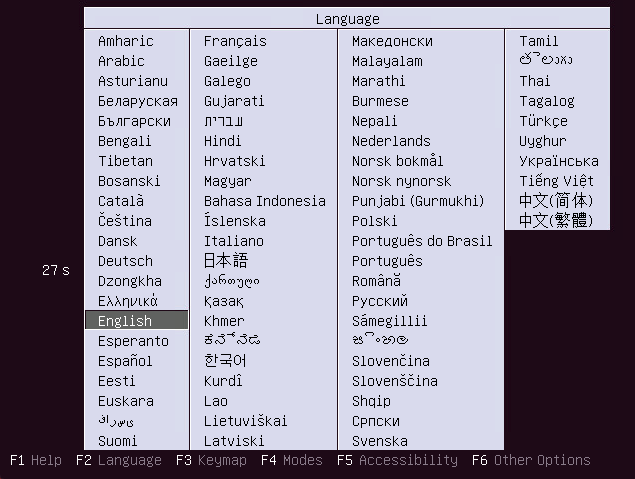
On the first screen select language and press enter.
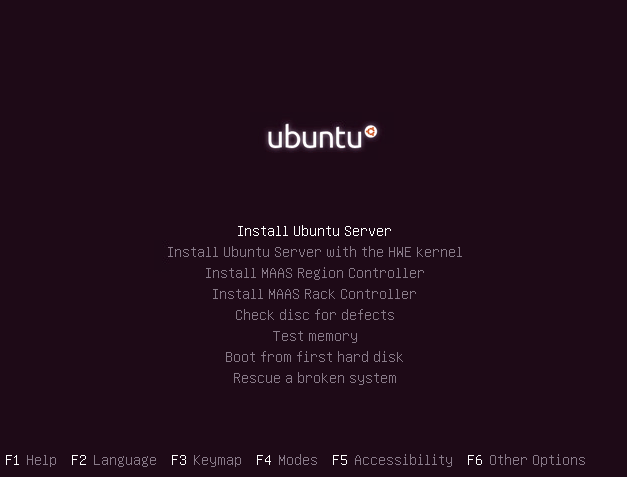
When prompted, select “Install Ubuntu Server” and press enter.
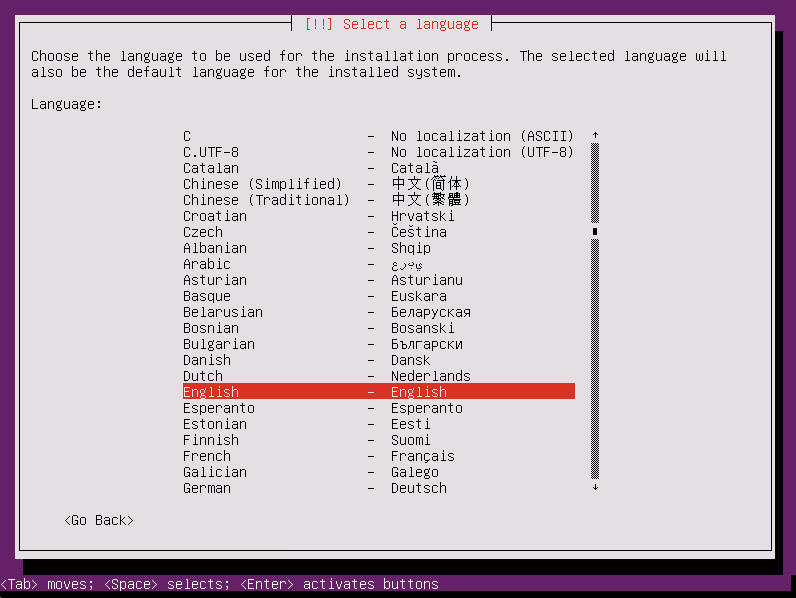
Once the setup starts, select the setup language.
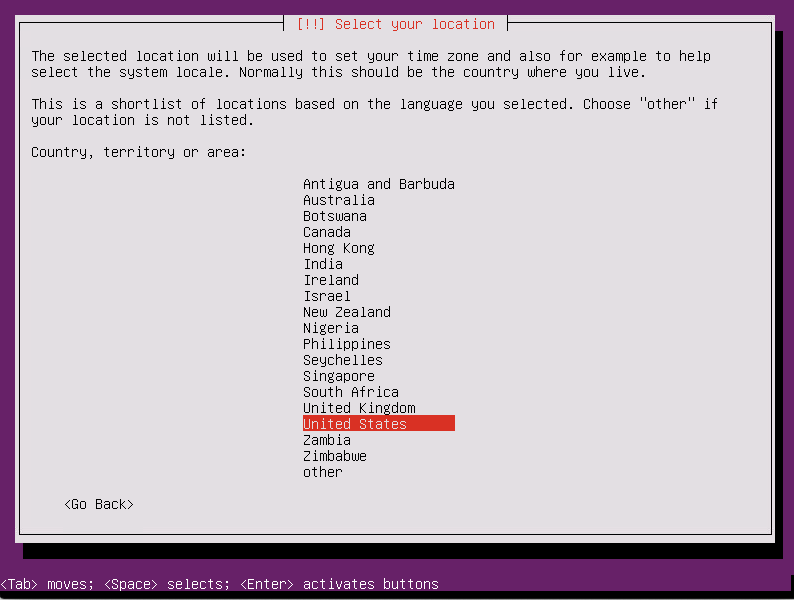
Set your location.
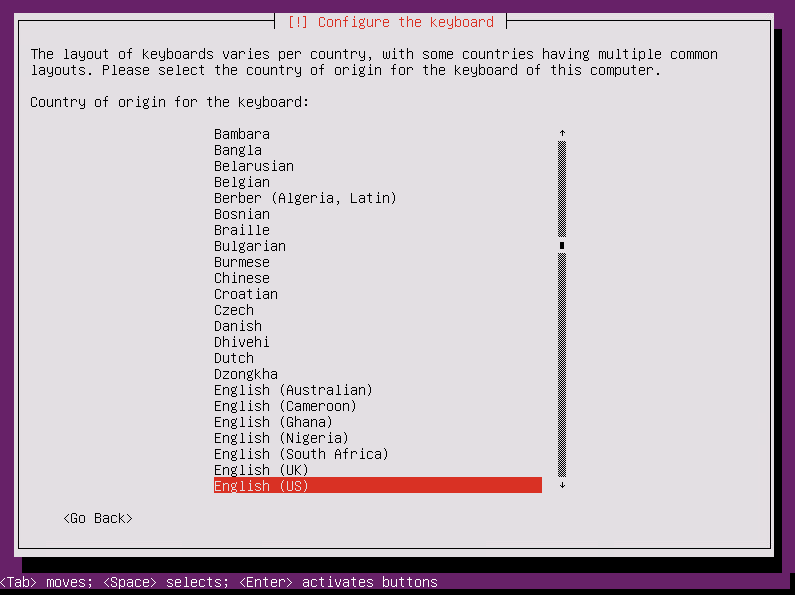
Set “No” for detecting keyboard layout and set US layout in the step after that.

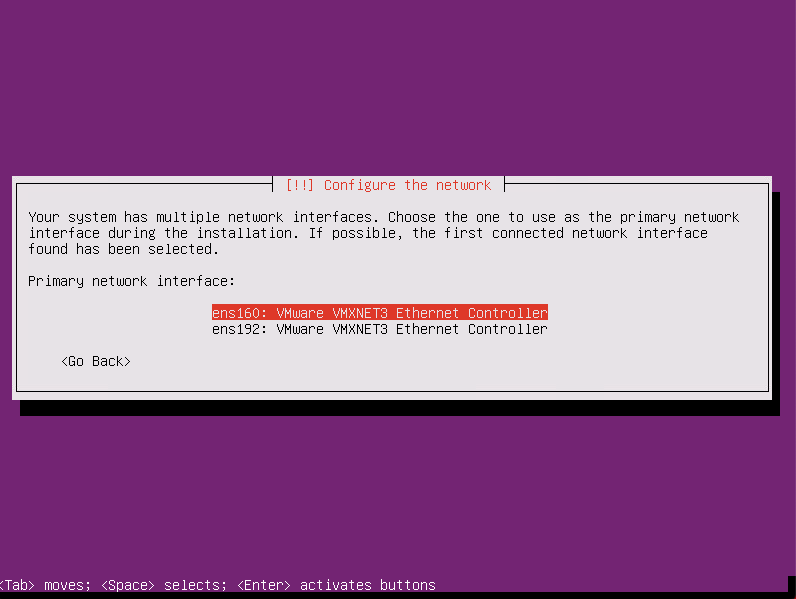
Select the network interface with internet connection / network connection. Rest of interface configuration can be done from flexiManage.
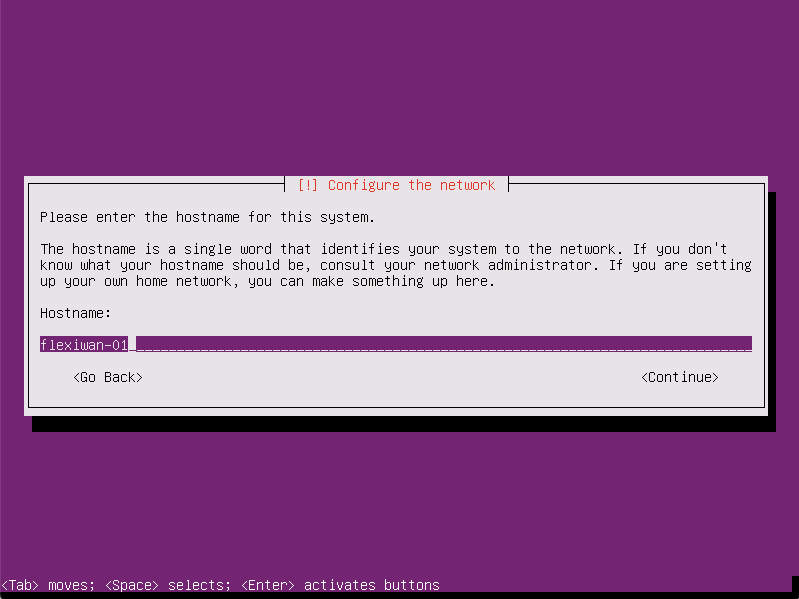
Enter device hostname.
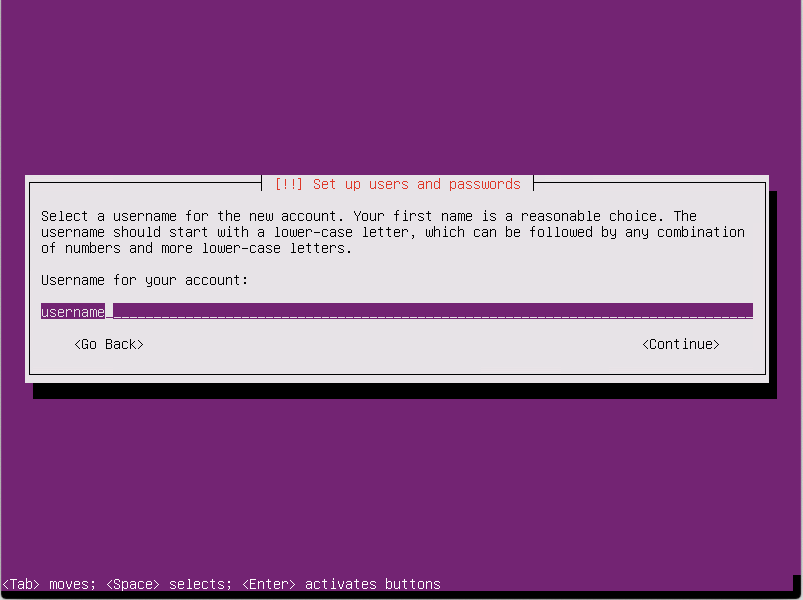
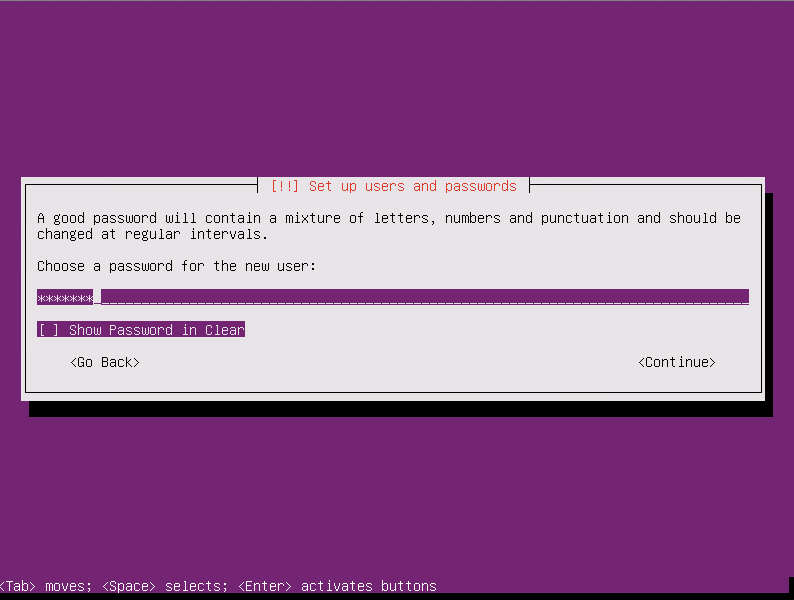
Set device username.
Add a good and secure password. Don’t forget to write it down.
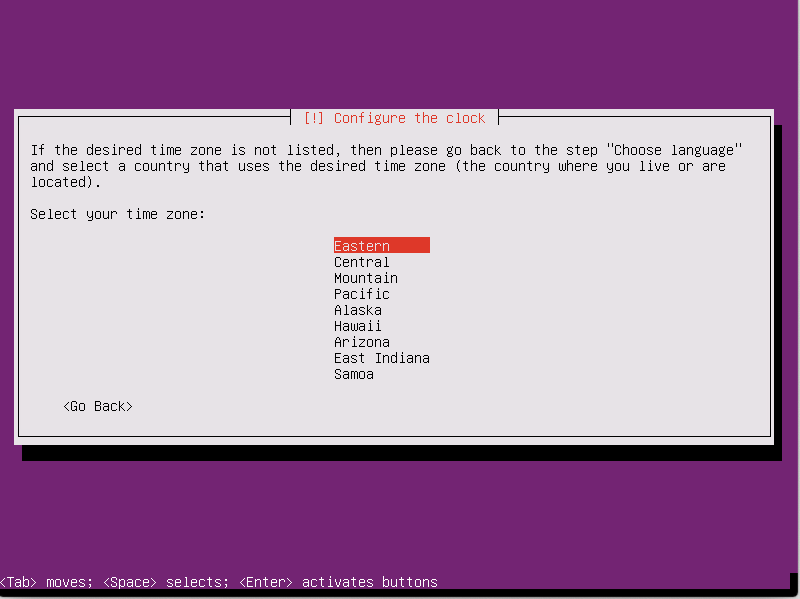
Configure time based on your location.
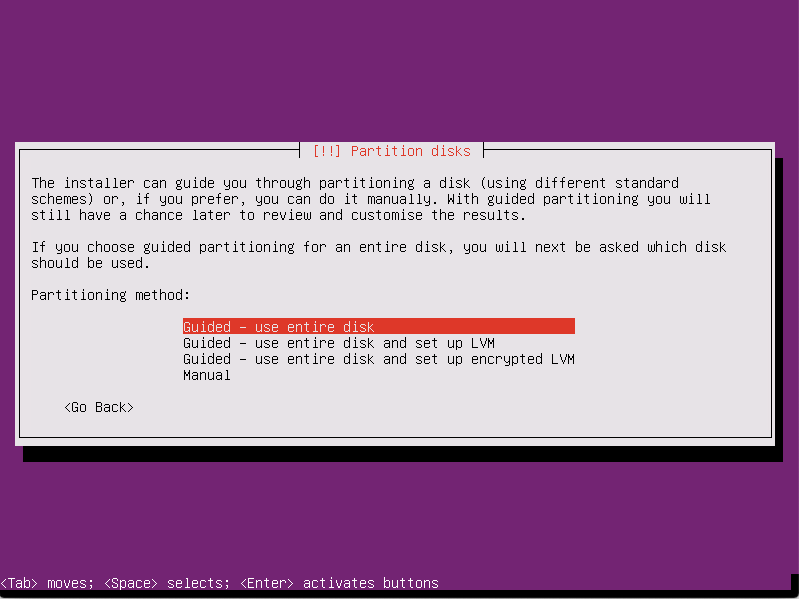
Select “Guided - use entire disk” option on partitioning page.
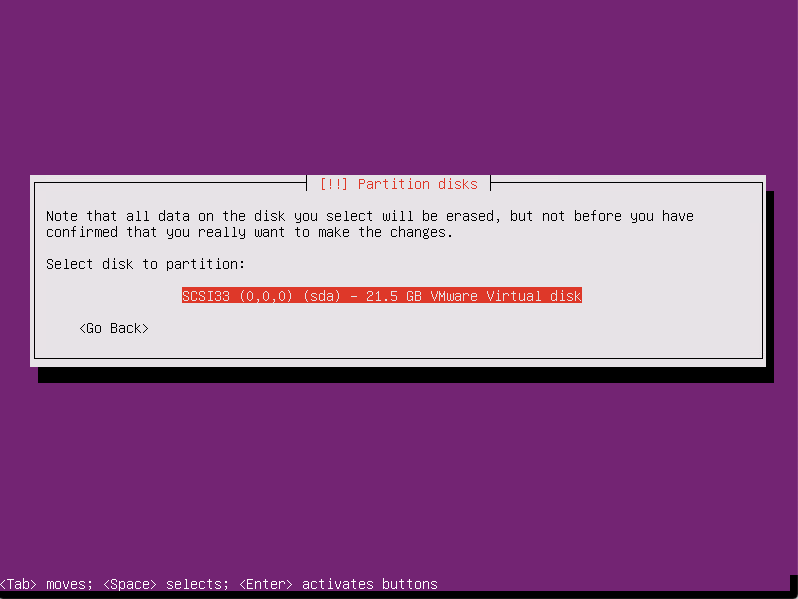
Keep the disk selected and press enter.
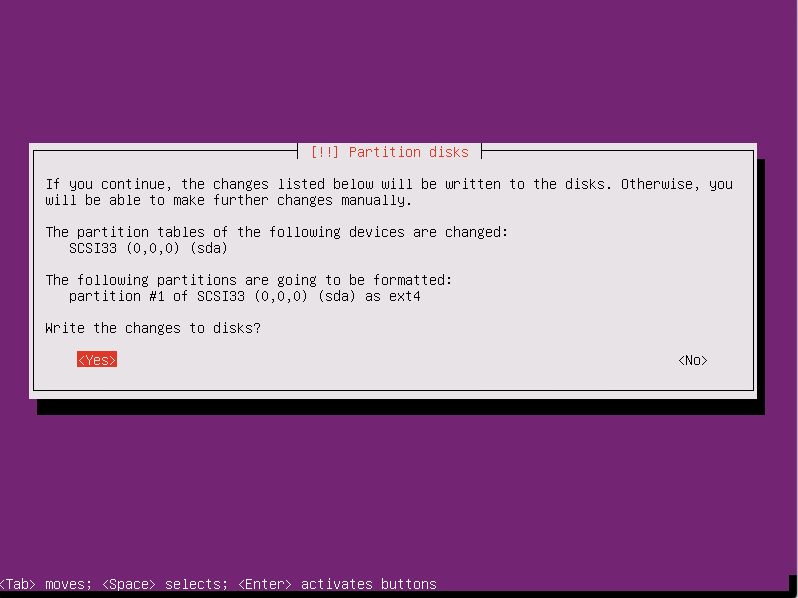
Confirm disk configuration and write the changes to disks.
Select Continue, unless you’re behind a proxy (usually no).

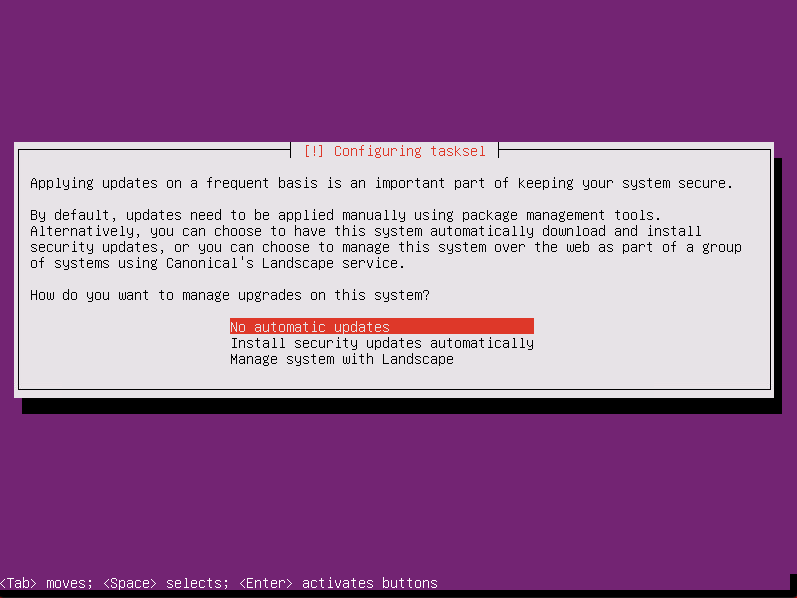
Select “No automatic updates”. This will be handled by flexiWAN.
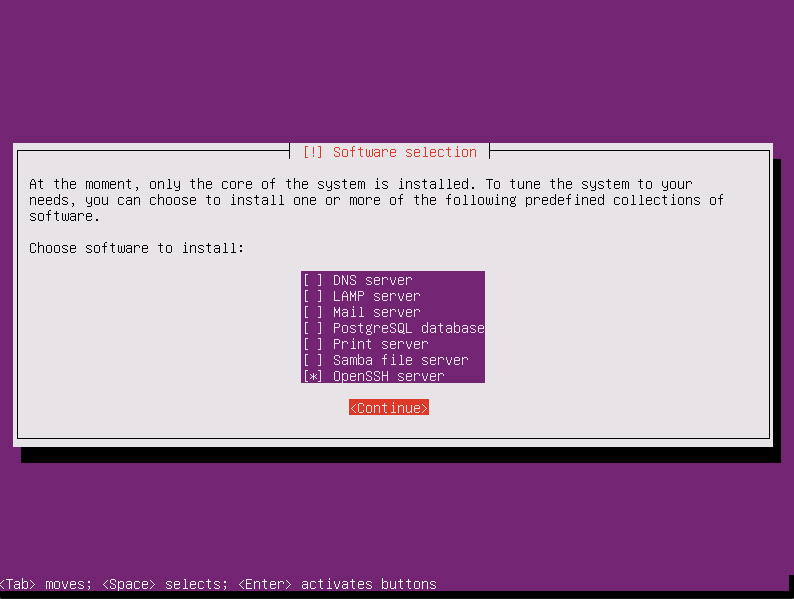
Select SSH with space bar and then continue.
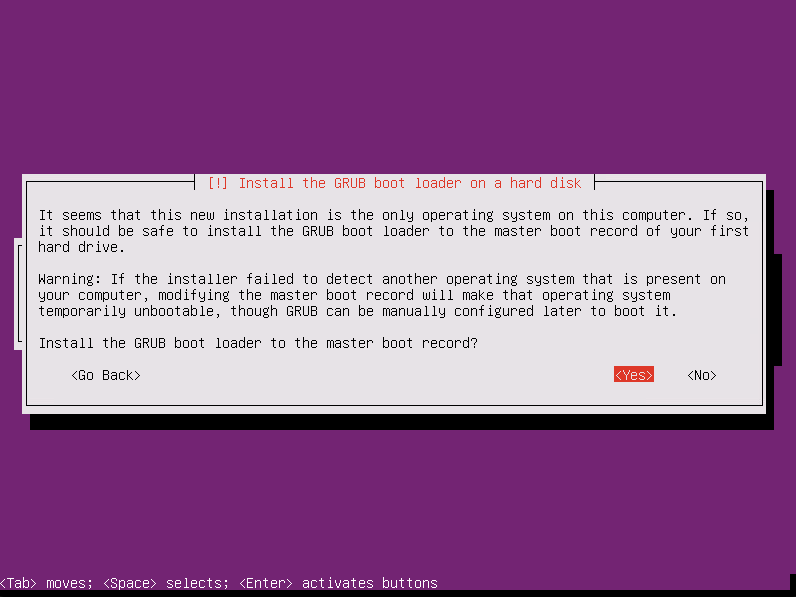
Confirm with yes to install the bootloader.
Select yes and on reboot unplug the USB with Ubuntu installer. If this is virtual machine, ISO should automatically disconnect on reboot.
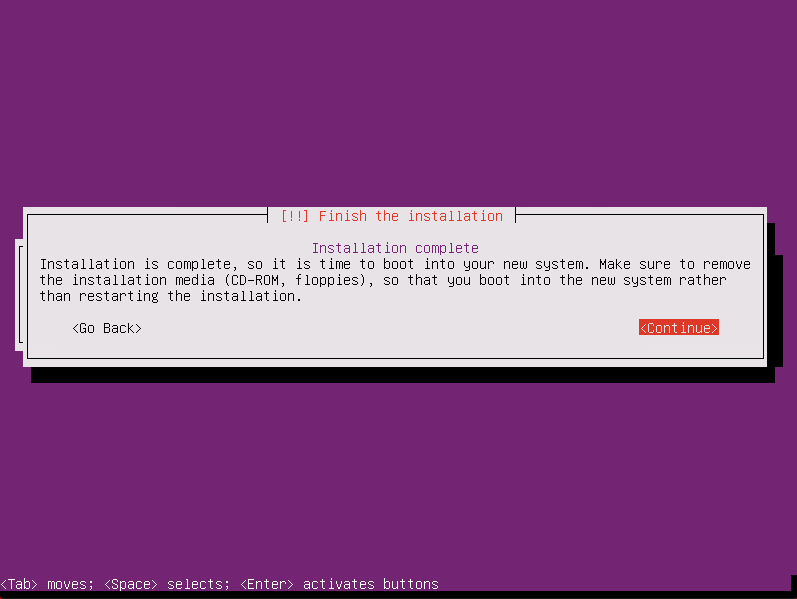
That’s it, upon reboot you can login to the device with the username and password set during the installation setup. Next step is to follow manual flexiWAN installation steps which can be found here