Installing flexiWAN
Overview
This section covers installing flexiWAN using the Installation image, recommended for baremetal installation. If you’re interested in virtualizing flexiWAN, several pre-built virtual appliances are available.
Before continuing, make sure to download the ISO image from the downloads section. Also, make sure your hardware satisfies the system requirements.
The following steps are covered by this guide:
Writing the installation image to USB
Booting from USB and starting flexiWAN instalation
Completing the installation.
Note
Installer image supports serial and monitor output. UEFI is required. Default baud rate is 115200.
Writing image to USB
After downloading flexiWAN installer image, the next step is to write the image to USB.
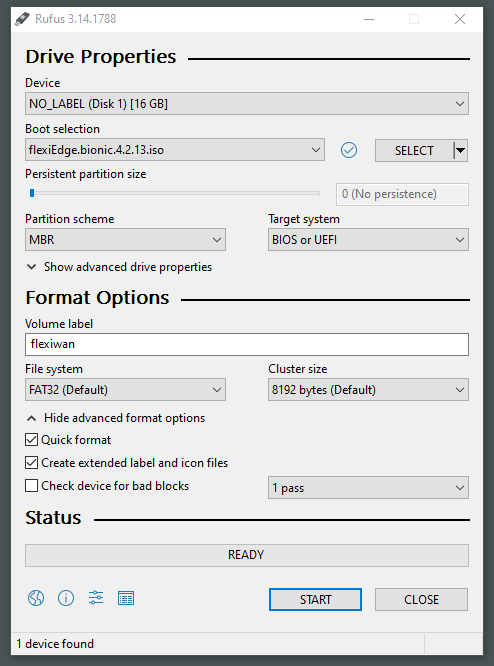
To write image on Windows, download Rufus from here. After downloading Rufus, plug in the USB disk drive, select flexiEdge ISO and click on Start to write the image to the USB. Keep all other option defaults.
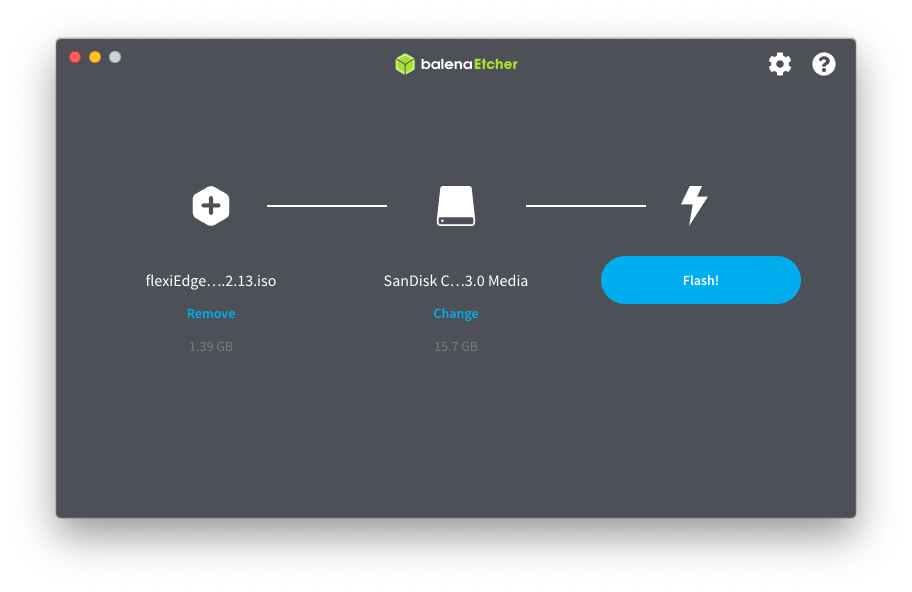
To write image on MacOS, download Balena Etcher from here. Run Balena etcher and select the flexiEdge ISO, followed by disk selection and click on Flash.
After the flexiEdge is written to USB, proceed to the next section, Installing flexiWAN.
Installing flexiWAN
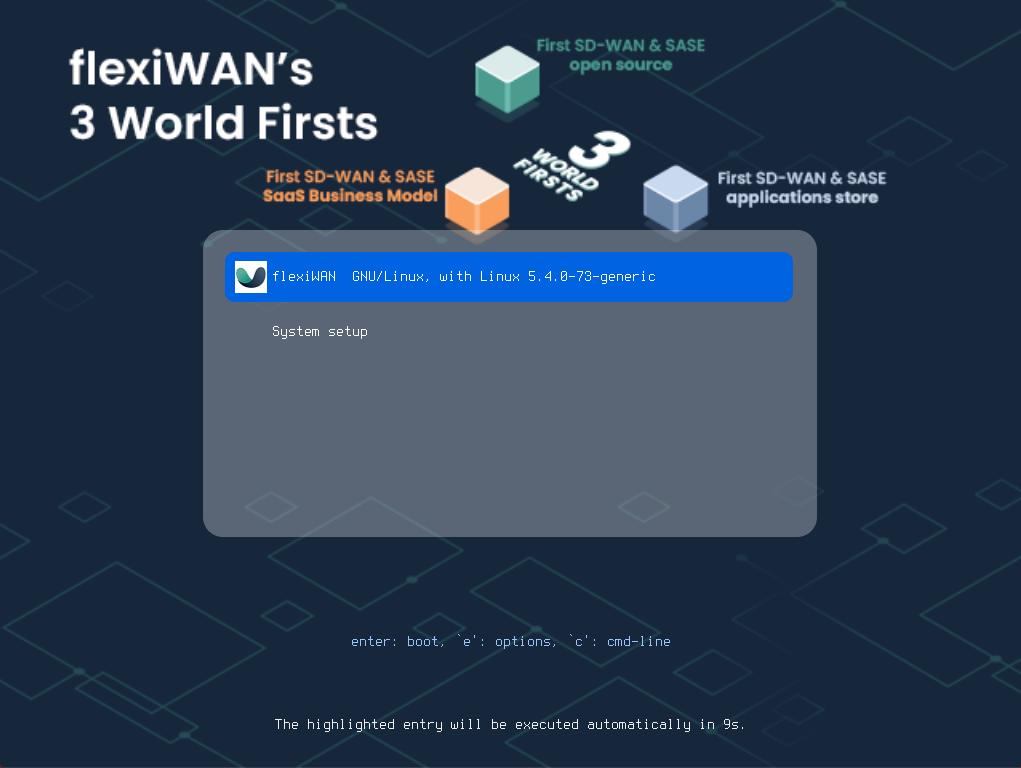
Once the flexiEdge installer USB drive is ready, the next step is to plug in the drive to the device and boot it. Make sure USB is selected to boot first At the boot selection, the following options are displayed:
Install flexiWAN router (UEFI) - select when using a device with monitor or a virtual machine with graphical output.
Install flexiWAN router via serial port (UEFI) - select when using a device with serial console instead of monitor.
This guide shows first option selected, however procedure is the same for serial.

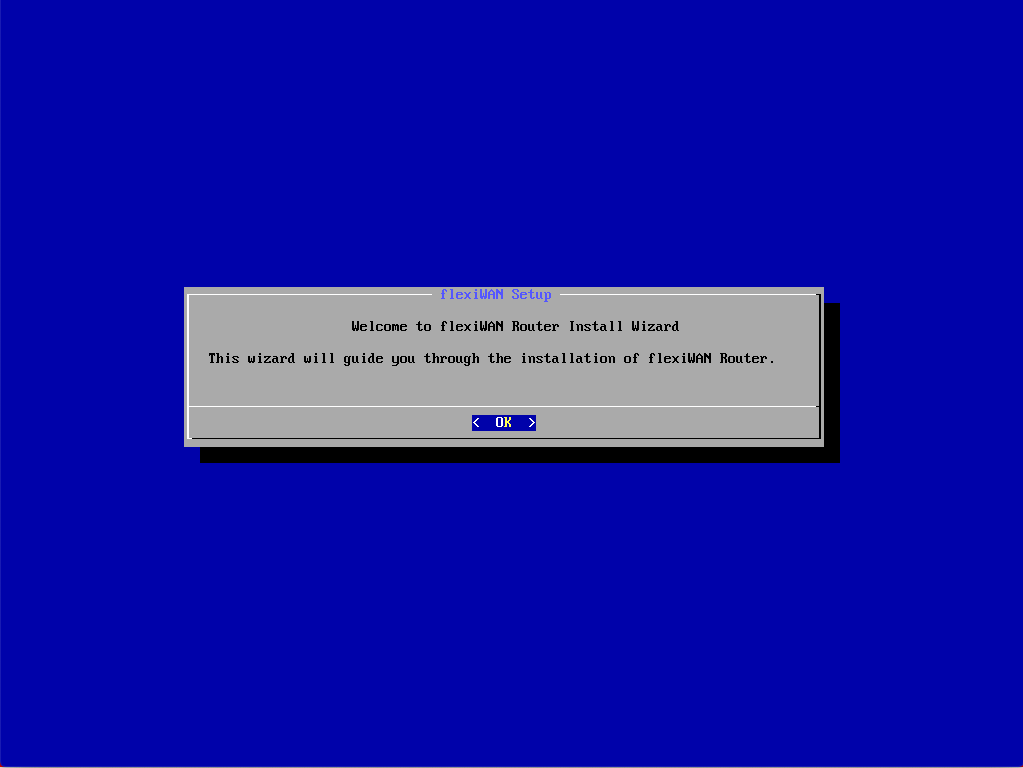
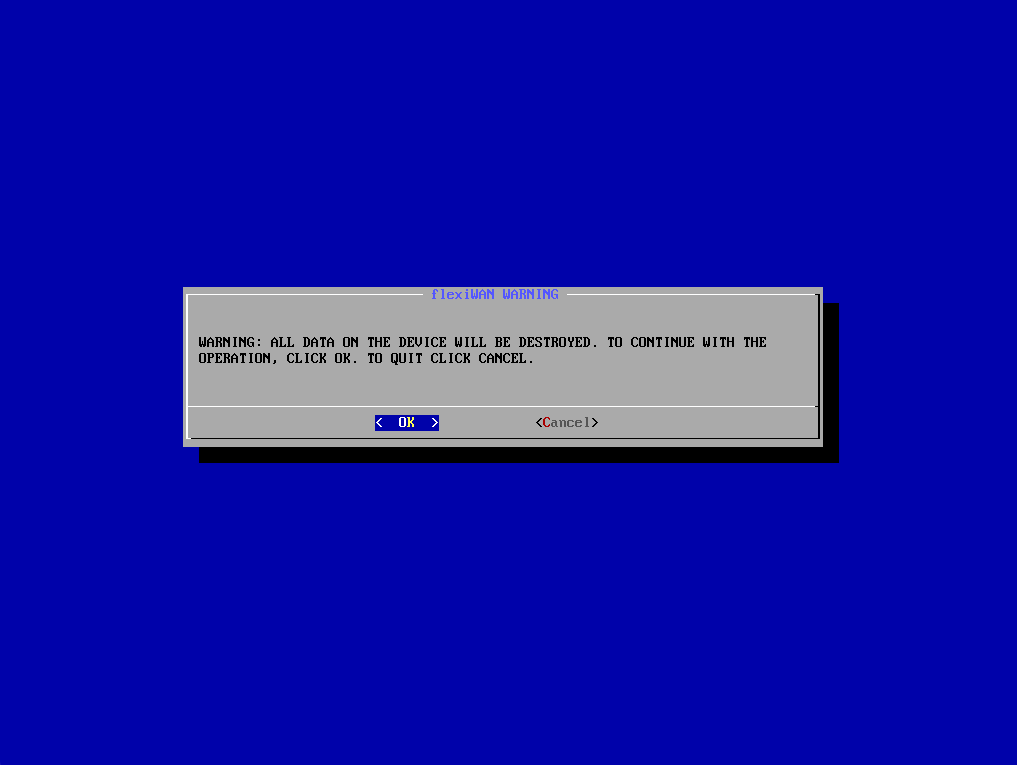
After a few moments installer wizard will show. Click OK to continue.
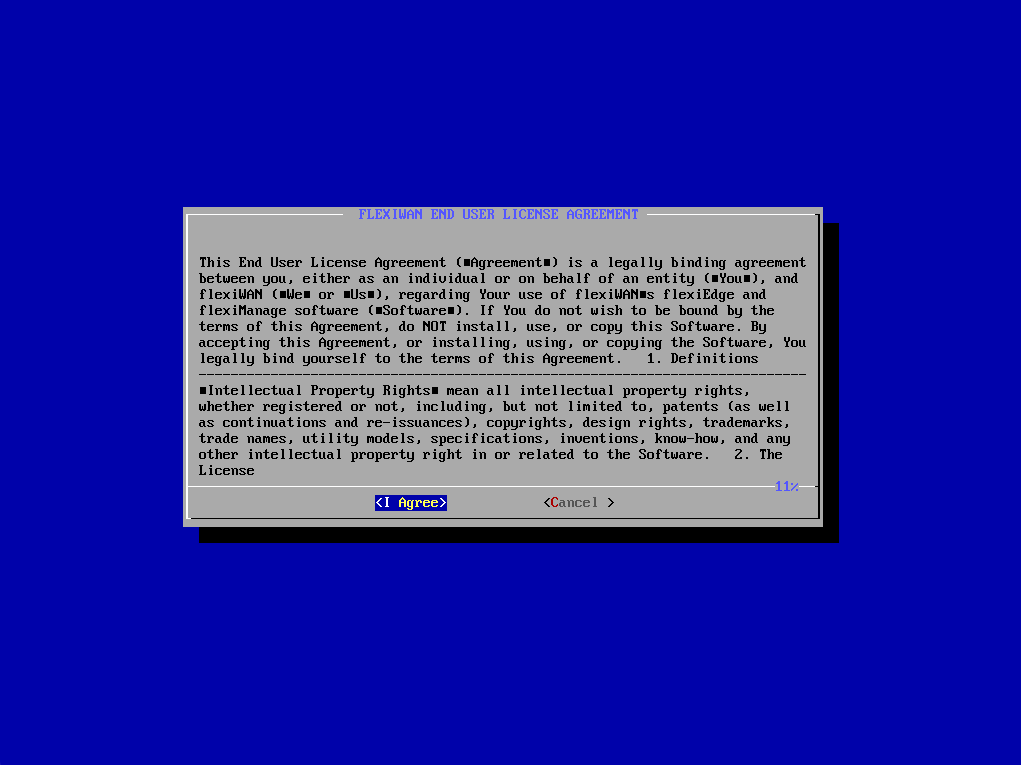
Accept EULA in order to continue installation.
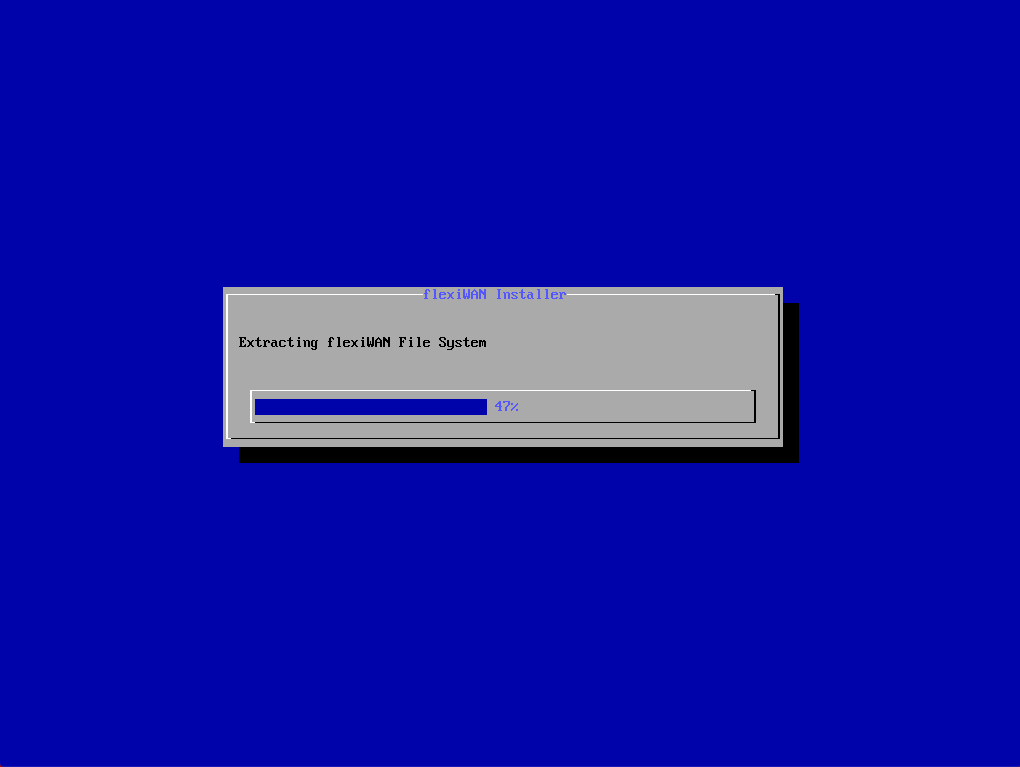
Setup will automatically detect available hard drive and offer installing to it. Simply click OK and that’s it, installation wil start.
Wait for a few moments until setup completes. The installer will create main partition and recovery partition. Recovery partition is useful for offline reinstallation.
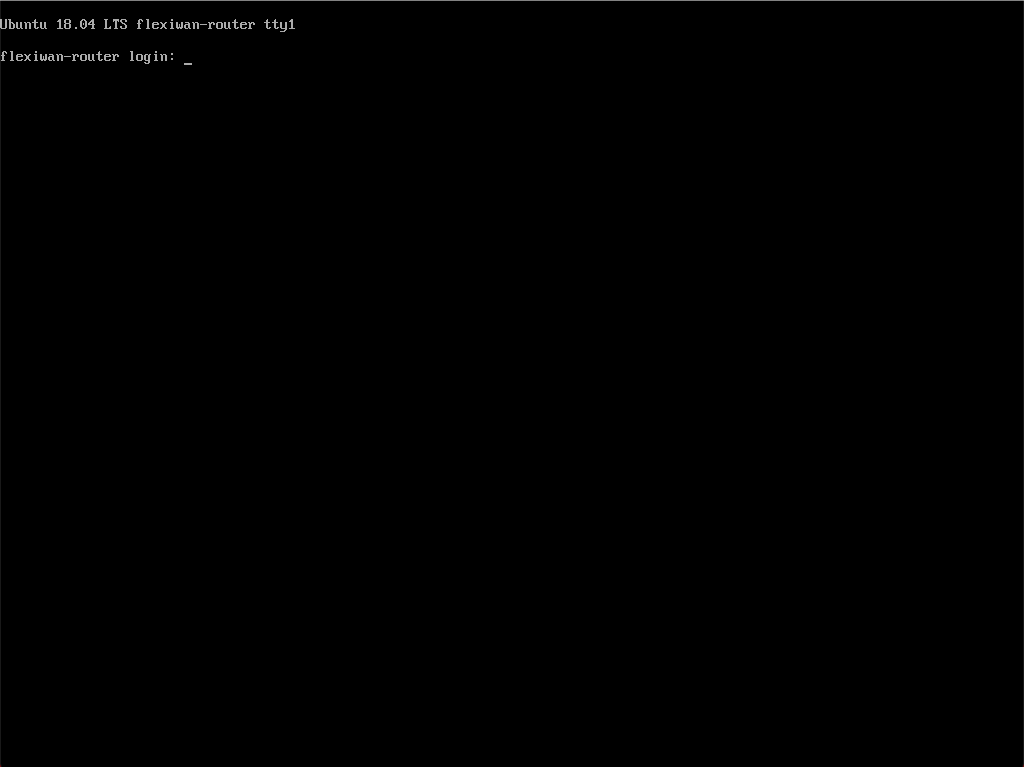
Upon completion, setup will automatically reboot the device. Make sure to unplug USB and boot from the internal disk drive.
That’s it, flexiWAN is now installed! Default username and password are: admin / flexiwan
After sucessfully installing flexiWAN to your device, proceed to “Checking your system configuration” section below.
Completing the installation
Interfaces layout
After completing the installation using flexiWAN ISO, the default interface layout is set as following:
ETH0 - Management Network with IP address of 10.0.0.1/30 - Mapped as a “Bridge Network interface” when using a hypervisor. ETH1 - WAN - Configured as DHCP Client - Mapped as a “Bridge Network interface” when using a hypervisor. ETH2 - LAN Network with IP address of 192.168.1.1/24. DHCP Server is also configured on this interface - Mapped as a “Not Attached” when using a hypervisor.
WiFi is disabled by default.
Note
Please note the above layout is referred to Linux interfaces mapping. Physical hardware labels may from the assigned Linux layout.
System checker
System checker is a post installation system check utility. It makes sure system requirements are met and prepares the device for flexiWAN operation. It can be ran comand line (serial or ssh) or using local flexiEdge UI with browser.
System Checker from flexiEdge UI
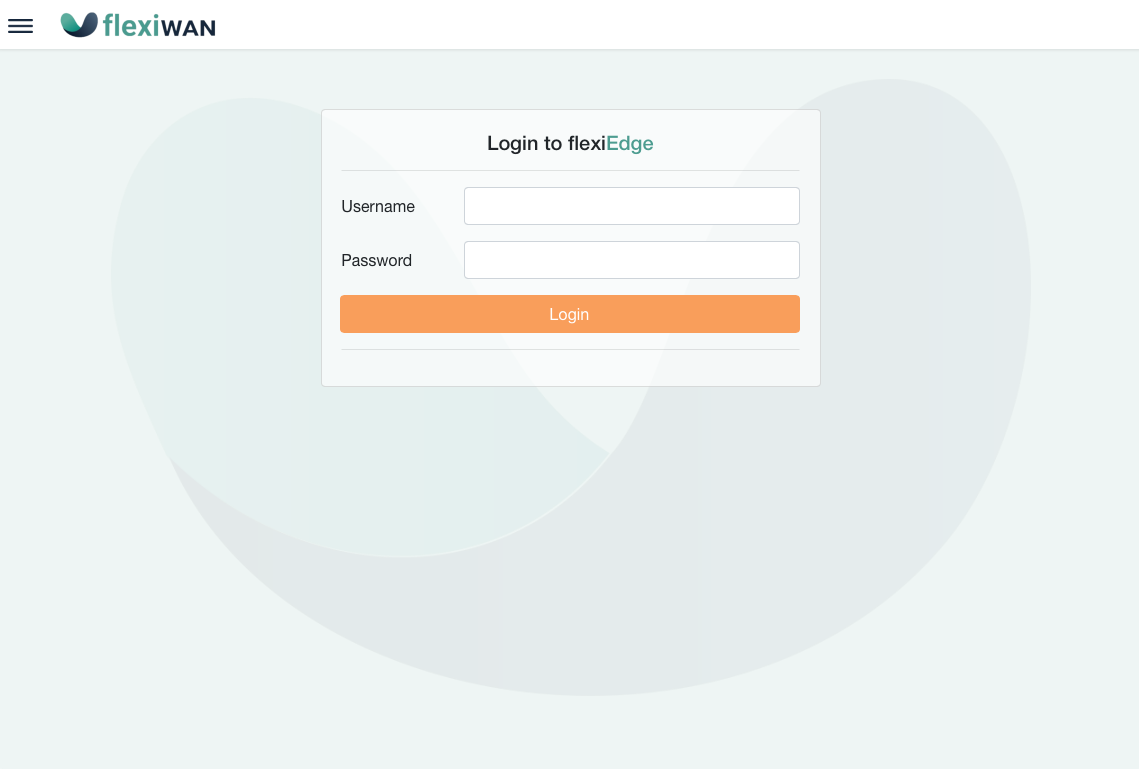
With the latest versions system checker is integrated to and available from the flexiEdge UI, a local web interface for initial configuration and troubleshooting. To access it, simply navigate to the device IP and port 8080.
Example: HTTP://192.168.100.10:8080/
After opening the flexiEdge UI page, enter username and password from Linux.
After logging in, click on System Checker page and run it to check if the system meets the requirements.
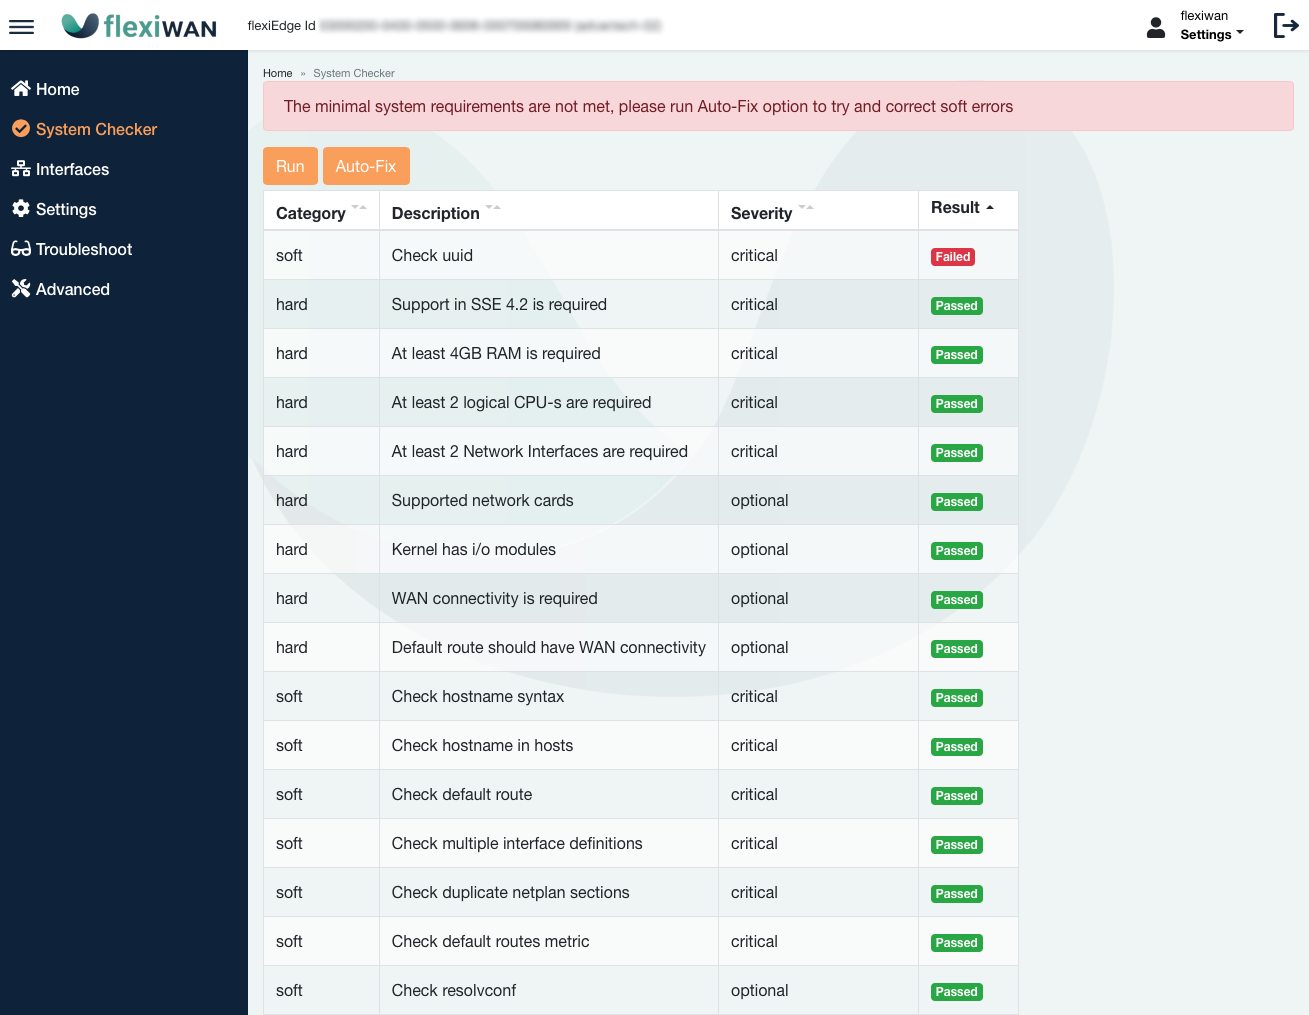
If installed on supported hardware, in most cases there will only be “soft” failures which can be fixed by clicking on “Auto-fix”:

Confirm the output now says system requirements are met proceed to the Device Mangement section, starting with token creation and installation steps as described in the following flexiManage section.
System Checker from the command line
System checker is also available from the command line for a faster deployment or for advanced configuration.
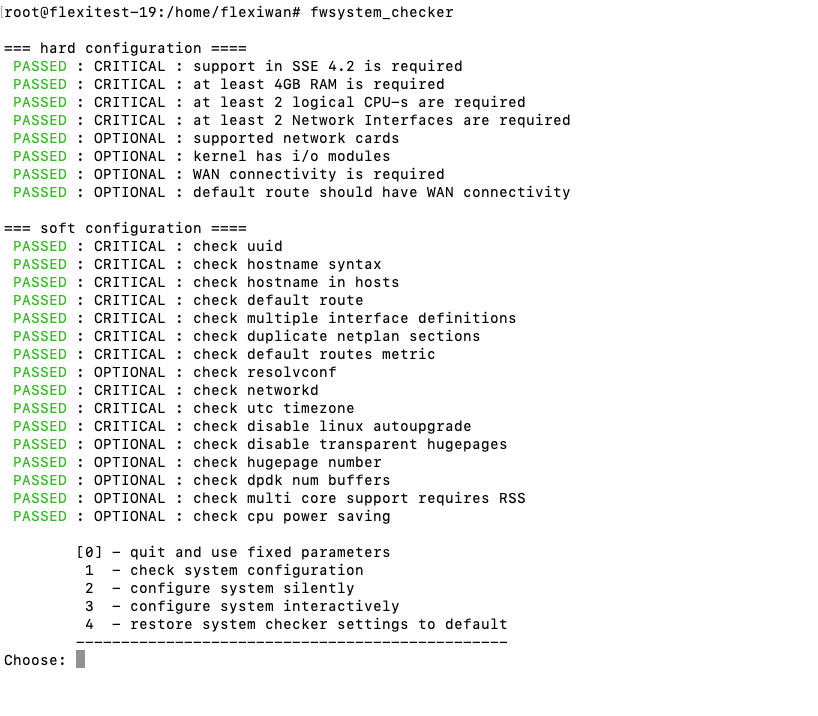
Run the fwsystem_checker tool to pass system requirements and fix software configuration errors. After installing the flexiEdge software, execute the following as root:
fwsystem_checker
The system checker utility will analyze your system hardware, host OS software configuration and output the results. For flexiEdge software to work properly, it’s important to pass all hardware related checkes, while most of soft-fail checks are fixed easily.
After running system checker there will likely be a few soft configuration fails, which can be fixed in automated or interactive way. System checker offers an automated way to fix all soft fails and prepare the system for flexiWAN operation. It also offers an interactive mode where each setting can be manually configured by the user.
Running system checker with default settings
To fix software configuration issues silently and automatically using defaults, run the fwsystem_checker utility and select the following options:
2. Configure system silently - to configure system without interaction using defaults
1. Check system configuration - to verify issues are resolved
0. Quit and use fixed parameters - to save the settings and exit utility.
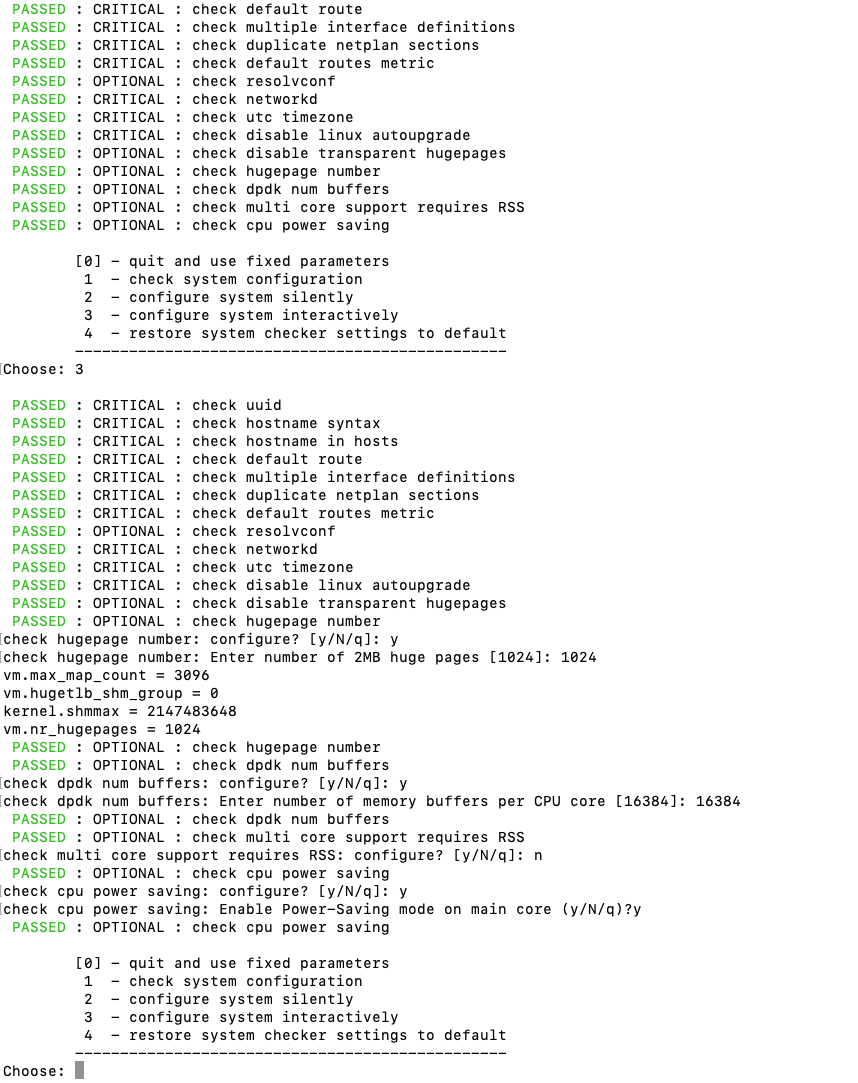
Running system checker interactively
An interactive system configuration is also available, chosing this option will allow detailed configuration and enable advanced features such as multi-core support and CPU power saving. If your device has multiple WAN interfaces and gateways, selecting this option will allow choosing the default gateway, among other options.
To fix software configuration manually and interactively, choose the following:
3. Configure system interactively follow the wizard to configure every step manually.
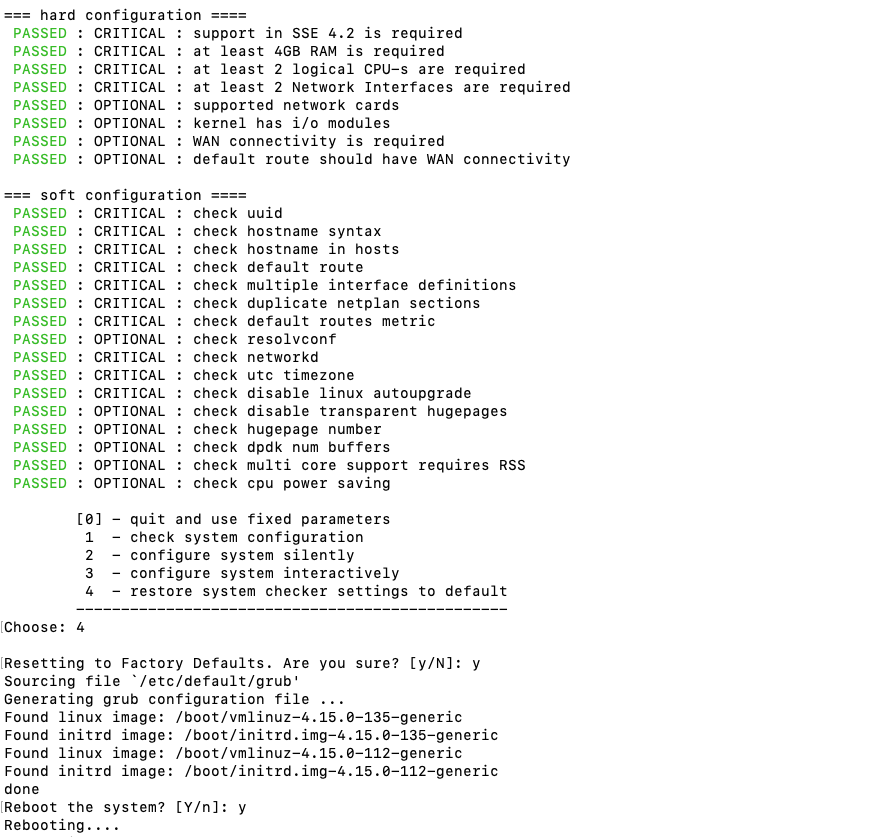
Last option in system checker, under number 4 is - “Restore system checker settings to default”. Use this option if you wish to remove all configuration done with silent or interactive steps. Reboot is required after restoring system to factory defaults.
After passing all hard and soft checkes, proceed to Device Mangement section, starting with token creation and installation steps as described in the following flexiManage section. In order to access flexiManage, please create an account.